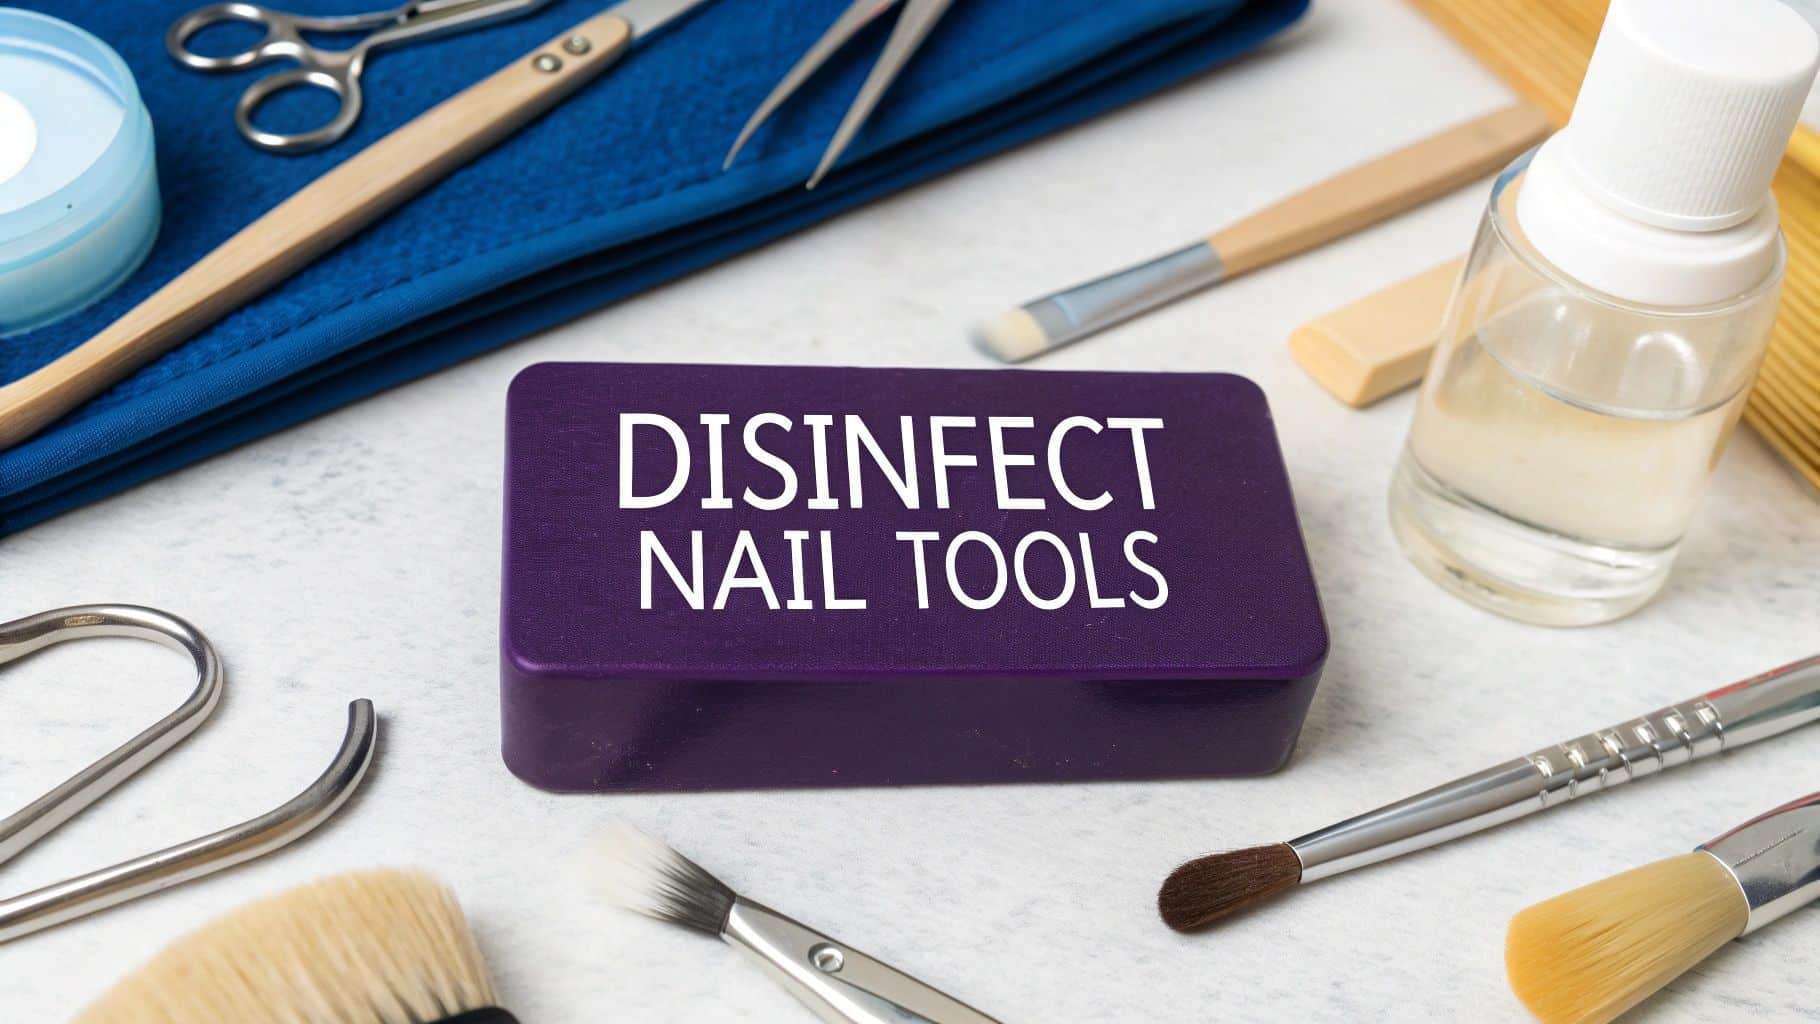
For any nail salon, the foundation of a safe, professional service is a non-negotiable, three-step process. First, you clean every tool with soap and water to remove physical debris. Then, you disinfect by fully immersing them in an EPA-registered solution for the required time. Finally, you dry and store them in a clean, sealed container. Mastering this system is essential for protecting your clients and your business.
Why Flawless Disinfection Is Your Salon's Foundation
Proper sanitation is the bedrock of a successful nail business. This isn't just about appearances; it's a critical business practice that protects your clients, your reputation, and your license from serious health risks.
When you implement a strict protocol for how to disinfect nail tools, you are building a shield against the fungal, bacterial, and viral infections that can be transmitted through improperly handled equipment.
Visible, rigorous hygiene protocols are one of your most powerful marketing tools. This commitment builds the client trust that leads to repeat business, glowing reviews, and a reputation for excellence. Think of it as a tangible way to show every client you prioritize their well-being.
The Critical Difference Between Cleaning, Disinfecting, and Sterilizing
To build an effective safety plan, it's crucial to understand the correct terminology. These terms are often used interchangeably, but for a business owner, they represent distinct levels of decontamination.
- Cleaning: This is the first and most basic step. It involves the physical act of scrubbing your tools with soap and water to remove all visible dirt, dust, and product residue. Cleaning is mandatory before any tool can be properly disinfected.
- Disinfecting: This is your daily standard. The process eliminates most harmful microorganisms, including bacteria and viruses, from non-porous surfaces. Submerging your cleaned metal tools in a hospital-grade, EPA-registered liquid like Barbicide for the full required contact time is disinfection.
- Sterilizing: This is the highest level of decontamination available. Sterilization kills all microbial life, including resilient bacterial spores. Using an autoclave, which applies pressurized steam, is the gold standard for sterilizing metal tools and demonstrates a top-tier commitment to client safety.
For your salon, daily disinfection is the required minimum standard of care. Offering sterilization elevates your business and provides the ultimate assurance of safety.
The Real Risks of Cutting Corners
Ignoring proper disinfection isn't just a bad habit; it's a significant business liability. Studies have shown that a high percentage of salon tools carry pathogenic microorganisms when not disinfected correctly.
To fully grasp the importance of this, it helps to understand what occupational hygiene entails. The entire framework of anticipating and controlling workplace hazards is precisely what a solid disinfection plan achieves—it creates a safe environment for both your staff and your clients.
Building Your Professional Disinfection Station
Setting up a dedicated and properly stocked disinfection station is the first actionable step toward creating an ironclad hygiene system. This isn't just about having the right chemicals; it's about creating an efficient workspace that makes proper sanitation an automatic part of your workflow.
When everything is organized in one place, you streamline the turnover process between clients, ensuring you never have to cut corners or scramble for supplies during a busy day.
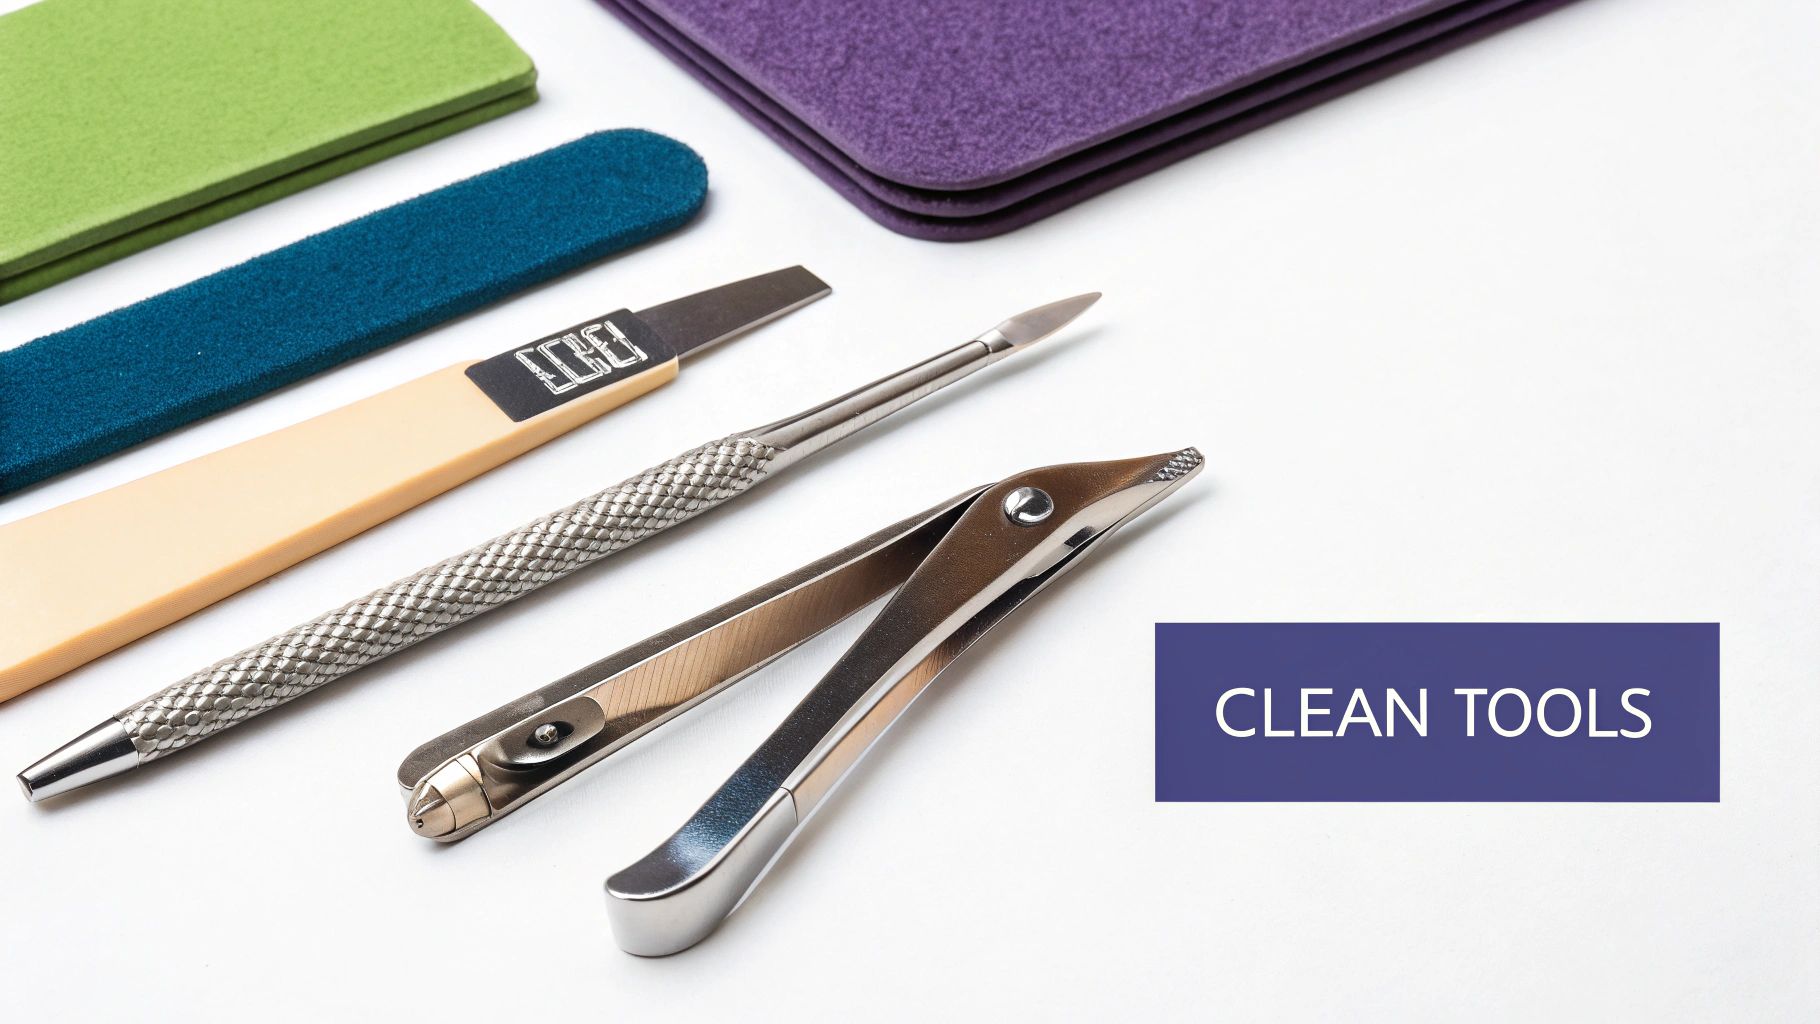
Starting With The Right Tools and Supplies
Your choice of implements is foundational to your business. Surgical-grade stainless steel tools—such as nippers, clippers, and cuticle pushers—are the industry standard because they are non-porous. This means they won't absorb contaminants and can withstand repeated chemical disinfection without degrading or rusting.
Conversely, porous items like emery boards, orangewood sticks, and buffers are strictly single-use. They cannot be safely disinfected and must be disposed of after servicing a single client. Make this a non-negotiable policy in your salon.
Gathering Your Disinfection Essentials
Properly disinfecting your nail tools requires a complete setup for the entire three-step process: cleaning, disinfecting, and drying/storage.
Your station's checklist must include:
- A dedicated scrub brush: Use a brush with firm, synthetic bristles solely for scrubbing debris off your tools. This brush must be kept separate and used only for pre-cleaning implements.
- Antibacterial soap and warm water: This is for the essential pre-cleaning step. You must physically remove all visible dirt and oils before disinfecting.
- Personal Protective Equipment (PPE): Always require staff to wear gloves to protect their hands from both client germs and harsh chemicals. Safety glasses are also highly recommended to prevent splashes.
With your cleaning supplies in place, you can build out your full disinfection kit. Selecting the right chemical agents is critical; if you need guidance, learn how to choose the right cleaning and disinfecting products to ensure you meet state board requirements.
Selecting The Right Disinfectant Solution
The core of your station is the disinfectant itself. As a business, you must use an EPA-registered, hospital-grade liquid disinfectant formulated to kill bacteria, viruses, and fungi.
Products like Barbicide are industry standards for good reason. They are concentrates that must be mixed with water according to the manufacturer's exact instructions. Failing to achieve the correct ratio renders the solution ineffective, creating a significant safety risk.
For the immersion process, use a container large enough to completely submerge your tools. A professional jar with a lid is ideal to prevent evaporation and contamination. Many come with a built-in, lift-out tray, which simplifies tool removal and prevents you from having to dip your gloved fingers into the solution.
Pro Tip: Implement a daily opening procedure that includes mixing a fresh batch of disinfectant. The solution must also be changed immediately if it becomes cloudy or contaminated with debris. A compromised solution is no longer effective.
Efficiently managing your schedule and supplies is key to a profitable salon. A dedicated nail salon appointment book helps organize client flow, allowing your team to focus on providing impeccable service and hygiene.
A well-stocked station is non-negotiable. Use this checklist to ensure your business is equipped for compliant and effective disinfection.
Essential Disinfection Supply Checklist
| Item Category | Specific Tool or Material | Key Purpose and Pro-Tip |
|---|---|---|
| Cleaning Supplies | Stiff-Bristled Scrub Brush | Removes physical debris before disinfection. Keep it separate from all other brushes. |
| Cleaning Supplies | Antibacterial Soap & Warm Water | The first step in decontamination; soap and water physically remove contaminants. |
| Personal Safety (PPE) | Nitrile or Latex Gloves | Protects hands from chemicals and germs. Change gloves between clients. |
| Personal Safety (PPE) | Safety Glasses | Shields eyes from accidental splashes of disinfectant solution. |
| Disinfectant | EPA-Registered, Hospital-Grade Liquid | The active agent that kills pathogens. Barbicide is a popular and effective choice. |
| Equipment | Lidded Immersion Jar/Container | Holds the disinfectant solution and fully submerges tools for the required contact time. |
| Drying & Storage | Clean Towels or Paper Towels | For thoroughly drying tools after disinfection to prevent rust and contamination. |
| Drying & Storage | Clean, Covered Container or UV Cabinet | Stores sanitized implements to keep them sterile until their next use. |
This checklist represents the absolute minimum for a safe disinfection process. Ensure every station in your salon is fully stocked with these items.
The Non-Negotiable Three-Step Disinfection Process
Achieving impeccably clean tools is a disciplined, multi-stage protocol that cannot be rushed. Each step prepares the tools for the next; skipping one renders the entire process ineffective.
This proven three-part system—Cleaning, Disinfecting, and Storing—is the gold standard for any salon serious about client safety and professional liability.
Remember this key principle: you cannot disinfect a dirty tool. Bacteria and viruses hide under skin, dust, and product residue, where disinfectant cannot reach them. That's why the process must always begin with a thorough cleaning.
This chart breaks down the essential flow from a used tool to one that’s 100% client-ready.
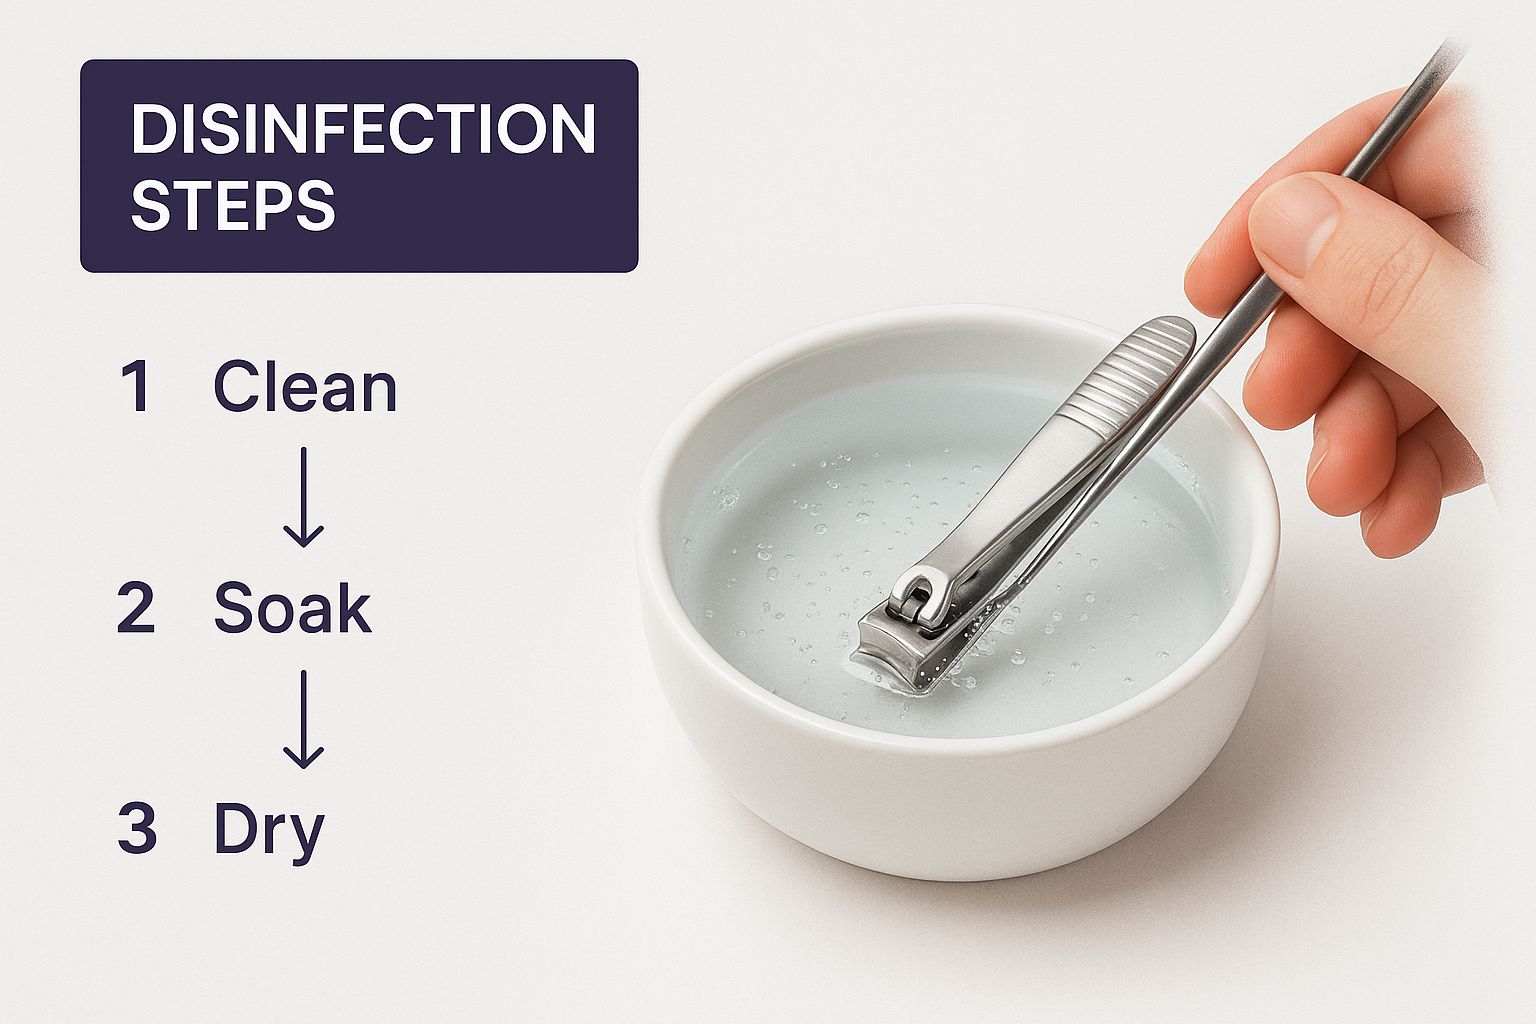
As you can see, each stage is deliberate, ensuring complete decontamination with no room for error.
Step 1: Clean – Manual Scrubbing and Debris Removal
This is your hands-on first step. After a service, take all non-porous metal tools to your cleaning area. Too many technicians rush this step, assuming the chemical soak will do all the work. This is a dangerous and incorrect assumption.
Actionable Instructions:
- Put on a fresh pair of gloves.
- Under warm running water, use your dedicated stiff-bristled brush and antibacterial soap.
- Scrub every surface of each tool, paying close attention to joints, hinges, and grooves where debris accumulates.
- Rinse the tools thoroughly to remove all soap residue.
- Pat them completely dry with a clean paper towel. The tools are now ready for disinfection.
Key Takeaway: If a tool isn't physically clean, it cannot be properly disinfected. The disinfectant needs direct contact with the tool's surface to do its job, and any leftover debris acts like a shield, blocking its effectiveness.
Step 2: Disinfect – Full Immersion in Solution
With your tools cleaned and dried, it’s time for the chemical bath that eliminates microscopic pathogens. This is where your EPA-registered, hospital-grade disinfectant is used.
Actionable Instructions:
- Carefully follow the manufacturer's instructions to mix the exact ratio of disinfectant concentrate to water. Do not estimate.
- Fully submerge the pre-cleaned tools in the immersion jar. Every part of the tool must be covered by the liquid.
- For hinged tools like nippers or scissors, open them before submerging to ensure the solution reaches all interior surfaces.
- Set a timer for the full "contact time" specified on the label, which is typically 10 to 15 minutes. Removing tools early will result in incomplete disinfection.
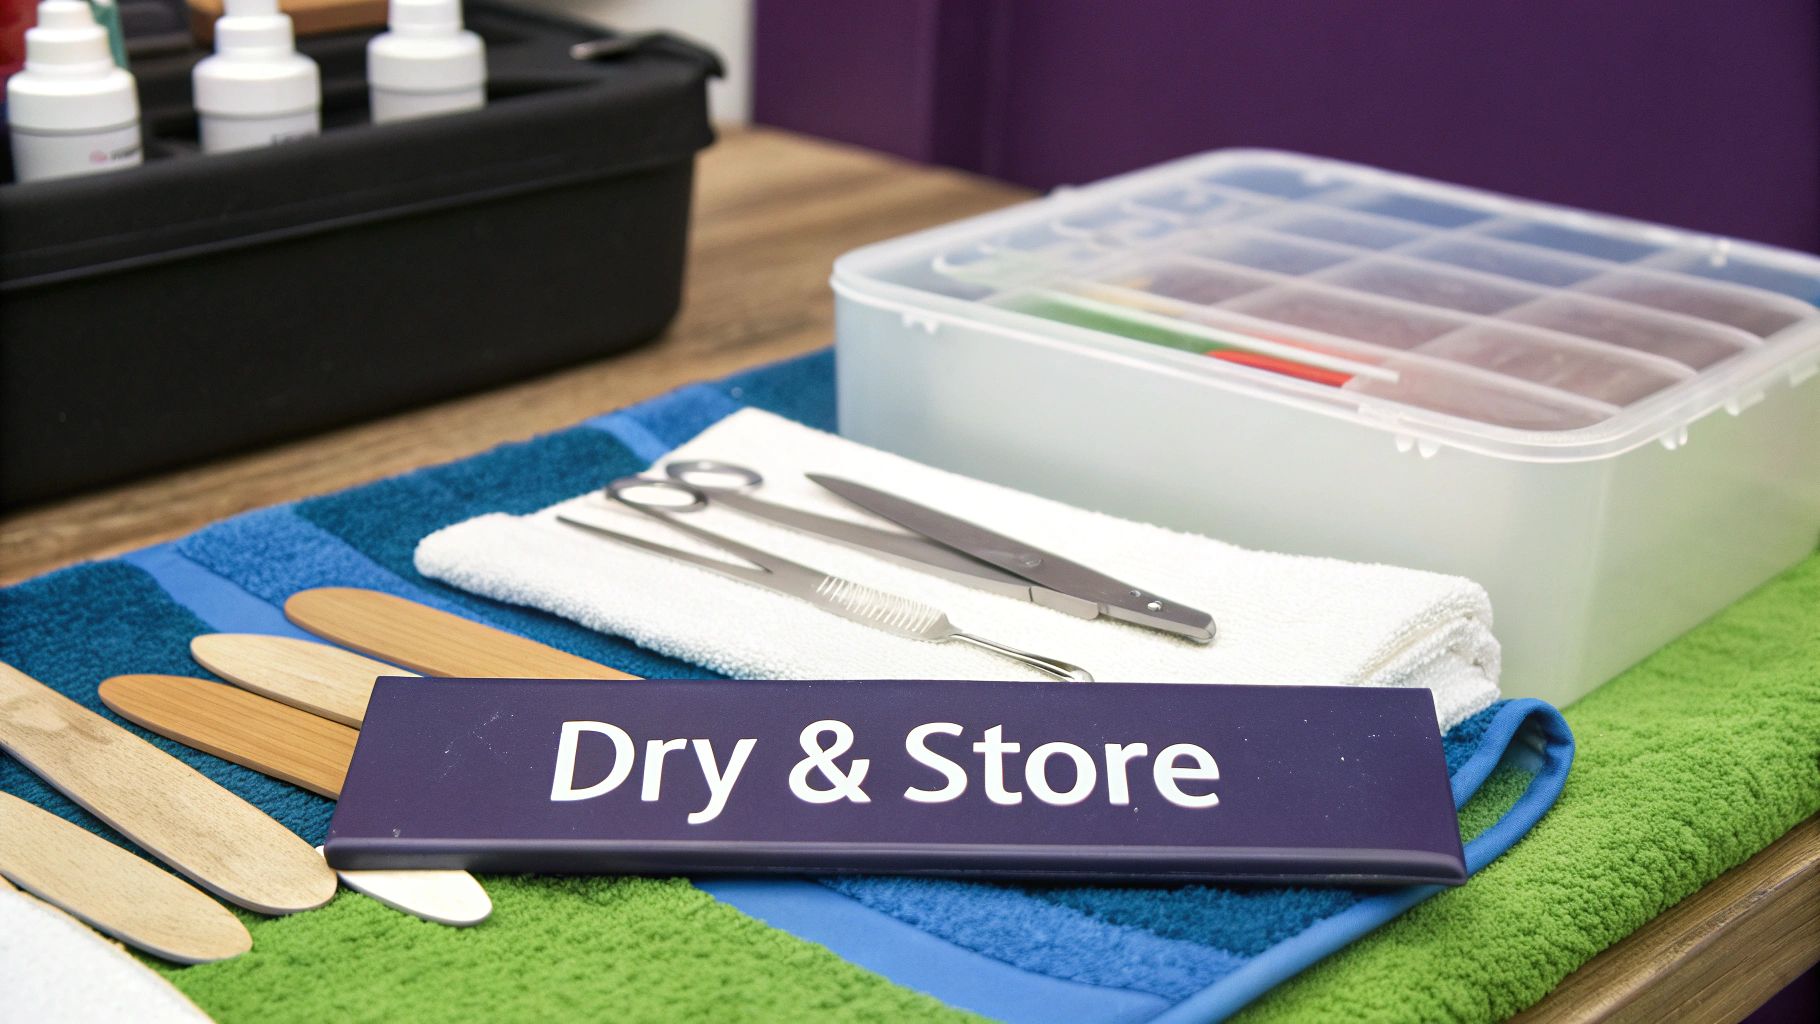
Step 3: Dry and Store – Protecting Your Sanitized Tools
This final step is just as critical as the first two, as it prevents your perfectly disinfected tools from becoming contaminated again before use.
Actionable Instructions:
- Once the timer goes off, use tongs or the jar's tray to remove the tools. Avoid touching them directly.
- Rinse the tools thoroughly with clean water to remove any chemical residue.
- Dry them completely with a fresh, clean towel or paper towel. Moisture can lead to rust and bacterial growth.
- Place the bone-dry tools in a clean, covered container, such as a sealed pouch or a UV sterilizer cabinet. Storing them in an open cup or a cluttered drawer will immediately re-contaminate them.
When to Level Up with Sterilization
For salon owners aiming to set the highest standard of care, disinfection is the starting point. Sterilization is the next level—a process that eliminates all microbial life, including resilient bacterial spores that can survive liquid disinfectants.
Offering sterilization separates your salon from competitors and provides clients with total peace of mind. This commitment to safety is a powerful marketing tool that can justify premium pricing for your services.
Introducing the Autoclave: The Gold Standard
The industry's undisputed champion for sterilization is the autoclave. This medical-grade device uses high pressure and superheated steam to destroy 100% of microorganisms, achieving a level of clean that liquid disinfectants cannot match.
This method is suitable only for hard, non-porous metal implements.
Tools suitable for an autoclave include:
- Stainless steel cuticle pushers and nippers
- Metal nail clippers and scissors
- Reusable metal foot file paddles
Do not place plastic, wood, or any porous items in an autoclave, as they will be destroyed. This process is exclusively for high-quality, durable metal tools that can withstand intense heat and pressure.
The Business Case for Investing in Sterilization
An autoclave is a significant investment, with professional units costing from several hundred to several thousand dollars. However, the return on this investment comes from an enhanced reputation, uncompromising client safety, and a distinct competitive advantage.
By advertising that your salon uses an autoclave, you are showcasing a medical-grade hygiene protocol. This becomes a major selling point that attracts discerning clients who are willing to pay more for a service they know is impeccably safe.
For a salon owner, an autoclave isn't just equipment. It's a declaration of your commitment to the highest professional standards and a signal to clients that their health is your top priority.
Managing high-value equipment like an autoclave requires precision. A robust salon inventory management system can help you monitor maintenance schedules and supplies, ensuring your sterilization process runs efficiently and protects your investment.
Common Hygiene Mistakes That Can Cost Your Business
Even with good intentions, salons can fall into hygiene traps that put clients at risk and damage their reputation. Consistently avoiding common slip-ups is what defines a truly professional business. These mistakes might seem small, but their consequences—from negative reviews to health board violations—can be enormous.
Here are the most common errors and the actionable steps to correct them in your business.
Rushing the Process
This is the most frequent mistake: not cleaning tools before disinfecting or not leaving them in the solution long enough.
- The Scenario: A technician is running behind schedule, gives their metal nippers a quick rinse, and tosses them into the disinfectant for just a few minutes before the next client.
- The Fix: Enforce a strict policy: every tool must be scrubbed with soap and water first. Disinfectant cannot penetrate physical debris. Then, use a timer to ensure tools remain fully submerged for the entire contact time required by the manufacturer (usually 10-15 minutes). No guessing.
A disinfectant solution is not a magic potion. If you skip the initial cleaning or shorten the soak time, your tools are not properly disinfected—period.
Using a Compromised Solution
Your disinfectant solution loses efficacy over time and with use.
- The Scenario: By late afternoon, the disinfectant jar looks cloudy. An employee decides to use it for one more client before changing it.
- The Fix: Implement a non-negotiable rule: a fresh batch must be mixed daily, and it must be changed immediately if it becomes visibly soiled. A cloudy or dirty solution is contaminated and completely ineffective. Using it is the equivalent of not disinfecting at all.
This commitment to pristine tools is what clients expect. The global market for manicure and pedicure tools has surpassed USD 18.5 billion, with growth driven by consumer demand for safer, higher-quality services. You can learn more about the nail tools market on dataintelo.com.
Improper Tool Storage
This final step can undo all your hard work if done incorrectly.
- The Scenario: After disinfecting, a technician dries the tools and places them in an open cup on their station or in a drawer with other items.
- The Fix: Once tools are disinfected and dried, they must be stored in a clean, dry, and covered container. A sealed pouch or a dedicated, lined drawer works well. This protects them from airborne dust and germs, ensuring they remain sanitary for the next client.
Your Nail Tool Disinfection Questions Answered
Even with a solid protocol, questions arise in a busy salon. Here are clear, straightforward answers to some of the most common queries from nail professionals.
How Often Should I Change My Disinfectant Solution?
The rule is simple: mix a fresh batch of your EPA-registered disinfectant every single day as part of your opening procedures. If it becomes cloudy or you see debris floating in it before the day ends, change it immediately.
An old or contaminated solution loses its potency, rendering the entire disinfection process useless. Always check the manufacturer's label, as some professional formulas may have specific instructions for maintaining efficacy. This daily habit is critical for client safety.
Can I Actually Disinfect My Nail Files and Buffers?
For a professional salon, the answer is an unequivocal no. Porous items like emery boards, buffers, and pumice stones must be single-use. They should either be given to the client or disposed of after one service.
Their surfaces trap skin cells, dust, and microorganisms, making it impossible to properly disinfect them. While cleaning them may be acceptable for personal use at home, a business must adhere to the single-use standard to prevent cross-contamination and demonstrate professionalism.
Never compromise on single-use items. The small cost of a new file is insignificant compared to the risk of an infection and the resulting damage to your salon's reputation.
What Is the Real Difference Between Disinfection and Sterilization?
Think of it as different levels of clean, each with a specific purpose in your business.
Disinfection is your mandatory, daily standard. It's the process that kills most harmful bacteria, fungi, and viruses found on surfaces. However, it does not kill resilient bacterial spores.
Sterilization is the next level up, representing the ultimate standard of care. This process, typically done with an autoclave, destroys all microbial life, including spores. While disinfection is your daily requirement, offering sterilization for reusable metal tools elevates your salon's safety credentials.
Is It Safe to Just Use Alcohol to Clean My Tools?
While a 70% isopropyl alcohol solution is recognized as a disinfectant, it is not as simple as a quick wipe-down. To be effective, your already-cleaned tools must be fully submerged in the alcohol for a minimum of 10 minutes.
For a professional salon environment, an EPA-registered, hospital-grade liquid disinfectant is the more reliable and appropriate choice. These products are specifically formulated and tested to kill the broad spectrum of pathogens encountered in a salon setting.
The demand for these high standards is growing. The nail treatment products market reached approximately USD 3.23 billion in 2023, with the nail tools market at around USD 1.5 billion. You can explore these trends in this industry report from Grandview Research.
Professionalism also extends to record-keeping. Learn why client documentation is so crucial in our guide on esthetician client consultation forms. This level of detail demonstrates your commitment to every aspect of your business, from safety to service.
At gohappybeauty, we know that a professional image and client trust are built on details—like impeccable hygiene. Our websites are built specifically for beauty pros like you to showcase your commitment to quality and safety, helping you attract the clients who appreciate it. Get started today at https://gohappybeauty.com.