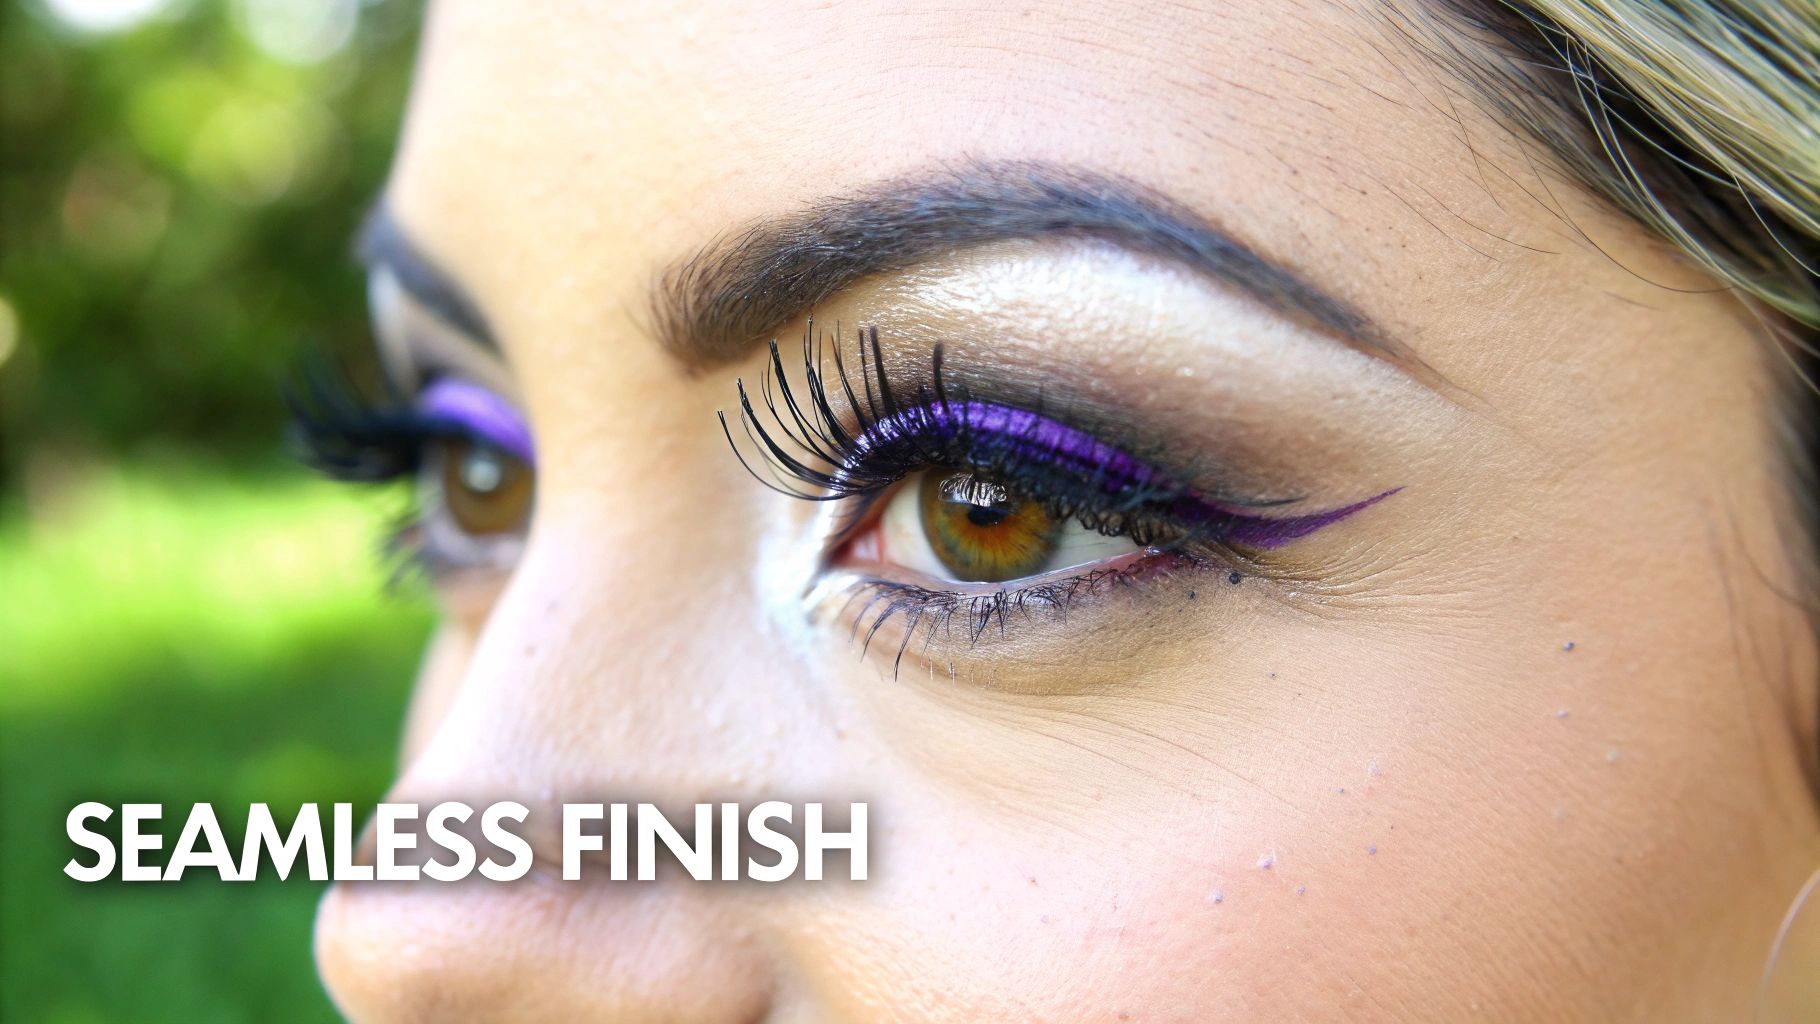
Applying false lashes is a precise skill. For business owners, mastering and teaching this process adds significant value to your services. It involves prepping the natural lashes, customizing the false lash to fit the client's eye, applying adhesive correctly, and placing the lash band perfectly against the natural lash line for a seamless finish.
The most critical step for a secure, long-lasting application is allowing the lash glue to become tacky for approximately 30-45 seconds before placement. Skipping this step is the number one cause of slipping, sliding, and a messy application. This guide provides actionable instructions for a flawless application every time.
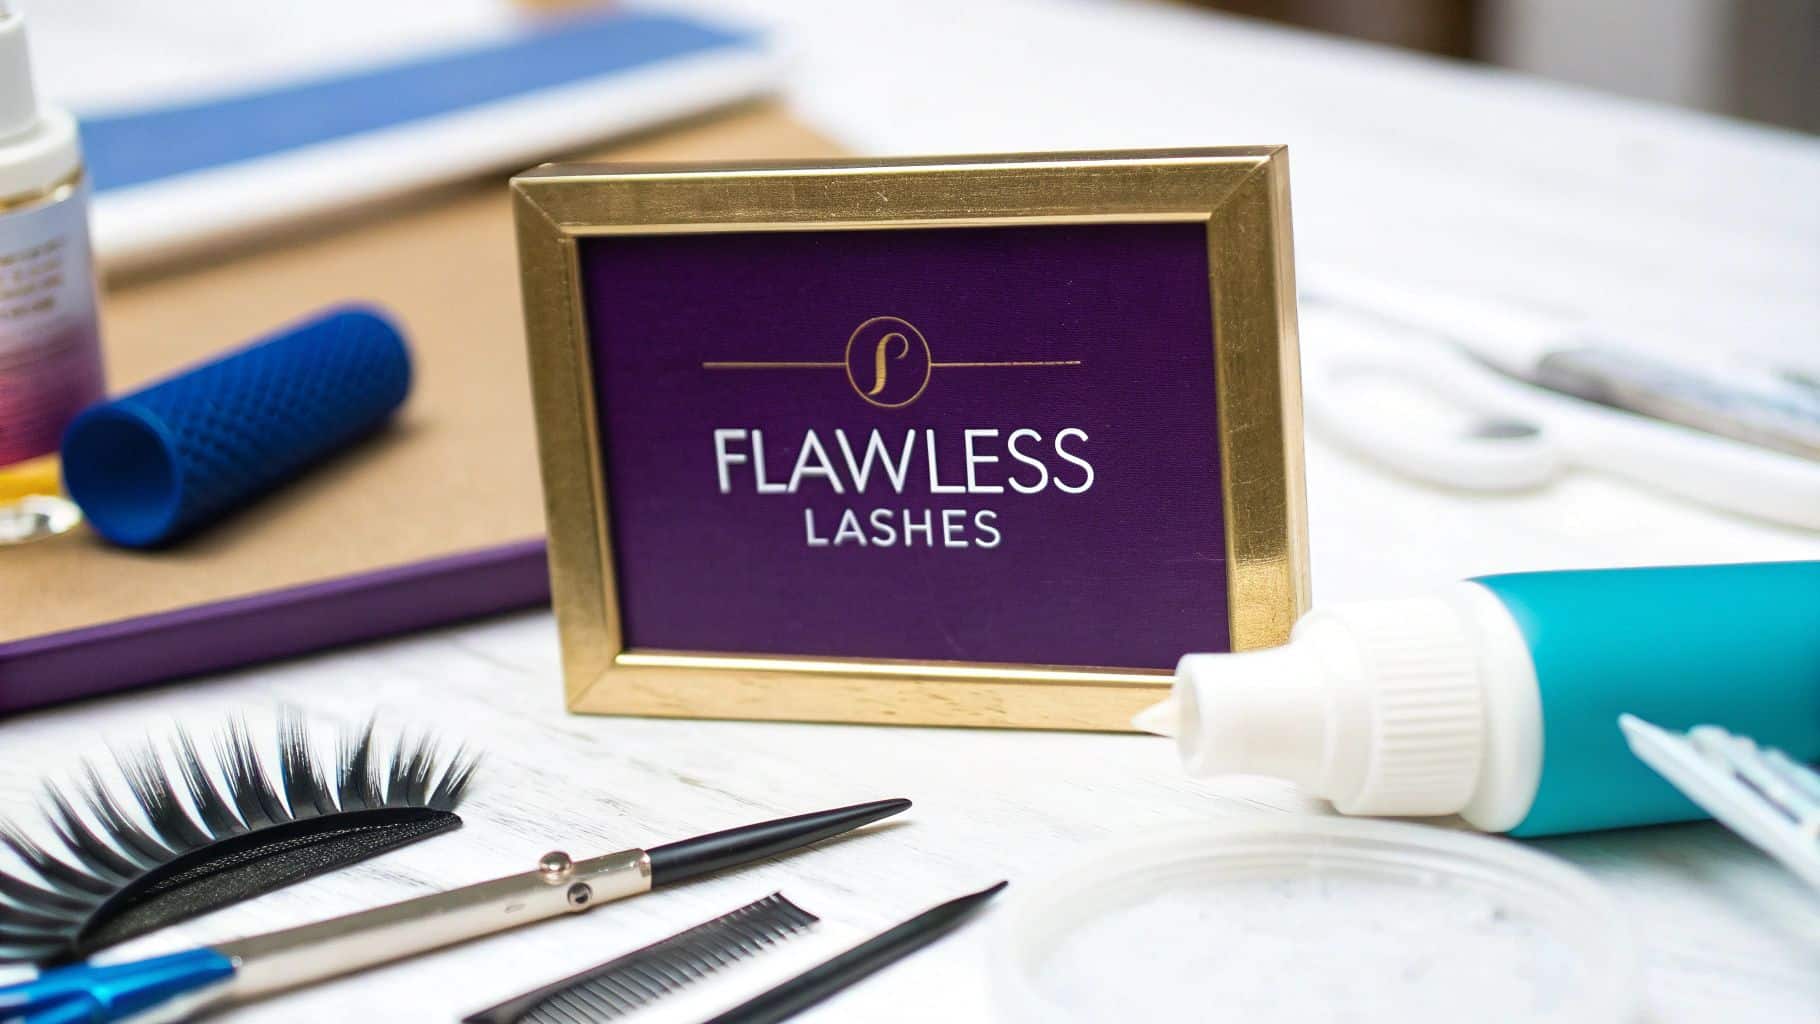
Your Essential Toolkit For Flawless Lash Application

Before beginning the application, ensure you have the right tools. A well-organized toolkit is the foundation for a professional result, transforming a potentially difficult process into a streamlined step in your service menu. For beauty business owners, this isn't just about having the items—it's about understanding their function to deliver or teach a perfect application.
Walking clients through these tools and their purpose builds their confidence in your expertise. It demonstrates that a stunning result starts with meticulous preparation, a key principle whether you are performing the service or educating a client on at-home application.
The Non-Negotiable Tools
The quality of your application is directly tied to the quality of your tools. These are the essential items required for a perfect, repeatable finish.
-
Quality Lash Adhesive: This is your most critical tool. A professional-grade glue provides a strong, flexible hold without causing skin irritation. For business owners, offering both dark-tone and clear adhesives is a smart move. Dark-toned glue blends seamlessly with black eyeliner, effectively concealing the lash band, while clear adhesive dries invisibly for a more natural look suitable for lighter makeup styles.
-
Dedicated Lash Applicator or Tweezers: While fingers can be used, a dedicated tool offers superior precision and control. It allows for exact placement of the lash band without transferring oils or smudging makeup, ensuring a clean and professional outcome.
-
Small, Sharp Scissors: Strip lashes are not one-size-fits-all. Small, sharp scissors are essential for trimming the lash band to fit a client’s specific eye shape. This crucial step prevents discomfort at the inner corner and lifting at the outer edge, guaranteeing a comfortable, secure fit.
Before diving deeper, let's break down the toolkit. Mastering the basics is key, but knowing which tools to upgrade will elevate your service quality.
Your Lash Application Toolkit Essentials vs Upgrades
Here’s a clear comparison of the must-have tools for a standard application and the advanced options professionals can invest in for superior results.
| Tool | Beginner Essential (Why you need it) | Pro-Level Upgrade (For next-level results) |
|---|---|---|
| Lash Adhesive | A reliable, strong-hold glue (clear or dark) that is gentle on the skin. | Specialized formulas like latex-free for sensitive clients or waterproof for maximum durability. |
| Applicator | Standard tweezers or a basic lash applicator for precise placement. | An ergonomically designed, curved lash applicator that mimics the eye's natural shape for easier placement. |
| Scissors | Small, sharp beauty scissors for trimming lash bands accurately. | Precision-tipped cuticle or embroidery scissors for incredibly fine and controlled cuts. |
| Mirror | Any standard mirror will do the job. | A magnifying mirror, preferably with built-in lighting, to see every detail up close. |
| Lash Curler | A standard eyelash curler to blend natural lashes with falsies. | A heated eyelash curler to create a stronger, longer-lasting curl that seamlessly merges with the false lash. |
Ultimately, a well-curated toolkit makes the application process more efficient and improves the final result. Start with the essentials and strategically upgrade tools as your business grows.
Actionable Insight for Business Owners: Detailed client records are as crucial as your toolkit. Documenting each client's eye shape, preferred lash style, and any sensitivities elevates their experience. Refine your client management with our guide on esthetician client consultation forms to ensure every service is personalized and professional.
With these key items ready, you create a controlled environment where you can focus entirely on the technique of the application itself. This organized approach minimizes mistakes and sets the stage for a perfect outcome every single time.
Choosing and Prepping Your Lashes
A flawless lash application begins with selecting the right lashes. The correct style enhances a client's features, while the wrong one can look unnatural and be prone to lifting. This initial selection sets the tone for the entire application.
For beauty professionals, this step is a key part of the client consultation. Your goal is to match the lash style to the client's eye shape—such as almond, round, hooded, or monolid—while also considering the occasion and their comfort level. A soft, wispy strip lash is ideal for a natural, daytime look, whereas a dense, dramatic style is reserved for events.
Find the Perfect Fit by Measuring and Trimming
Strip lashes almost never fit perfectly out of the box. Applying a lash that is too long is the #1 cause of poking at the inner corner and lifting at the outer edge.
Here is the step-by-step process for a custom fit:
- Hold the lash strip against the client's eyelid.
- Align the inner edge of the strip where the natural lashes begin.
- Observe where the strip ends on the outer corner. If it extends past the natural lash line, it must be trimmed.
Actionable Insight for Business Owners: Always trim from the outer corner, never the inner. The inner corner lashes are tapered to create a natural blend. Cutting them results in a blunt, unnatural start to the lash line. This is a critical detail to teach clients for at-home care.
Make small, incremental snips. It is always better to trim less and re-measure than to cut off too much. This simple step transforms a generic product into a custom-fit accessory, ensuring comfort and a secure hold.
Master the Prep for a Pliable Band
A stiff lash band will resist the natural curve of the eyelid, leading to lifted corners. The professional secret is to "break in" the lash before applying any glue.
To increase flexibility, gently take both ends of the lash strip and bend it back and forth into a C-shape. Alternatively, wrap the lash around your finger or a makeup brush handle for 60 seconds. This action makes the band significantly more pliable, allowing it to conform perfectly to the client's lash line.
Understanding lash materials is also crucial for professionals. The global market shows a strong preference for affordability and ethical options, with synthetic lashes comprising about 65% of sales. While silk and mink offer a luxurious feel, high-quality synthetics provide excellent durability and are an accessible choice for a broader client base.
For salon owners, offering strip lashes is just one part of a comprehensive service menu. To better serve your clientele, familiarize yourself with the full range of lash services, including extensions. Use our guide to explore different options and build your eyelash extension price list.
The Art of a Perfect Lash Application
With your lashes prepped, it's time for the application. A perfect application relies on patience and precision. The key to success is not speed, but technique.
The single most critical factor is the adhesive. Rushing this step will result in a messy application with poor adhesion. Your objective is to allow the lash glue to become tacky—partially dry but with enough grip to adhere instantly upon contact.
The Tacky Glue Trick
Think of it like gluing paper. Wet glue causes slipping, but tacky glue provides an immediate bond. The same principle applies here.
After applying a thin, even layer of glue along the lash band, wait 30 to 45 seconds. The glue will transition from a milky or iridescent state to a more translucent one. This waiting period is non-negotiable for a secure, frustration-free application.
Pro Tip for Business Owners: When demonstrating how to apply false eyelashes, emphasize this waiting period. Explain to clients that tackiness provides the control needed to place the lash perfectly against their natural lash line without it wiggling or sliding.
Placing the Lash with Precision
Once the glue is tacky, it's time for placement. Using a lash applicator or tweezers provides far more control than fingers, allowing for a better angle and preventing smudges.
Here’s a visual guide to the foundational prep work that ensures a flawless application.

This infographic details the crucial early steps—measuring, trimming, and bending—that customize the lash before glue is applied.
Follow this placement process:
- Place the lash band in the center of the eyelid, as close to the natural lash line as possible.
- Focus on anchoring the middle first.
- Once the center is secure, gently press down the inner corner, followed by the outer corner.
Securing the Bond for an Invisible Finish
With the band in place, the final step is to create an invisible bond. This is what distinguishes an amateur application from a professional one.
Use your lash applicator to gently press the false lash band into the natural lash line. This action achieves two critical goals:
- Ensures a secure hold: It reinforces the adhesive's bond with the skin for all-day wear.
- Creates a seamless look: It merges the false lash base with the natural lashes, making the band virtually disappear.
This final press locks everything in place. The demand for such skills has grown significantly, especially as face masks shifted focus to eye makeup. Alibaba.com reported a 150% increase in eye makeup revenues in February 2020, highlighting the shift of lash application from a salon-only service to a popular DIY skill. You can find more on this trend in these insights on the false eyelash market.
By implementing these straightforward techniques, you can transform lash application from a challenge into a quick, reliable, and profitable service.
Blending and Finishing for a Seamless Look
Applying the lash strip is only half the battle; the real artistry lies in the finishing touches. These final steps are what make the false lashes look completely natural.
For beauty professionals, mastering these blending techniques is an opportunity to educate clients. When you show a client how to perfect these details, you empower them to achieve a professional look at home, which builds trust and loyalty.
Conceal the Lash Band with Precision
The most obvious sign of a strip lash is a visible band. The solution is simple and used by all professional makeup artists: apply a thin line of black liquid or gel eyeliner directly over the lash band.
This technique instantly camouflages the strip, blending it into the lash line. It creates a defined line that not only hides the band but also enhances the appearance of thicker lashes at the base.
Actionable Insight: The objective is not to create a dramatic wing (unless requested), but to trace a delicate line that connects the lash band to the eyelid. This single step is the key to a truly undetectable finish.
Unify Your Lashes for a Natural Look
Once the glue is completely dry and the eyeliner is set, merge the natural lashes with the falsies to eliminate any visible gaps.
Using your fingertips or a lash applicator, gently pinch the natural and false lashes together. Work in small sections from the inner corner to the outer edge. This simple motion physically combines the two layers, creating a unified lash line that appears much more natural.
The Final Touch with Mascara
The proper use of mascara can be a game-changer. The key is to apply it with a very light hand. A single, light coat of mascara from root to tip serves to bind the natural and false lashes together.
This final sweep coats both sets of lashes, helping them blend perfectly and eliminating any differences in color or texture.
- Focus on the Base: Wiggle the mascara wand at the root to ensure the tightest bond between the natural lashes and the strip.
- Use Sparingly: Avoid heavy, clumping formulas. The goal is to unify, not add volume or length that the false lash already provides.
By incorporating these finishing steps into your process, you move beyond simple application and into the art of creating an integrated, polished, and professional result every time.
Common Lash Mistakes and How to Fix Them
Even experienced professionals encounter application issues. For anyone learning how to apply false eyelashes, troubleshooting is part of the process. Fortunately, most common mishaps are easy to fix without starting over.
For business owners, knowing these quick-fix solutions is a significant advantage. The ability to troubleshoot a client's issue on the spot—or teach them how to resolve it at home—builds immense trust and showcases your expertise.
That Dreaded Lifting Inner Corner
A lifting inner corner is the most common lash application issue, but the fix is quick and straightforward.
- The Problem: The band was not secured properly, either because the glue was not tacky enough during application or the band was too long for the eye.
- The Quick Fix: Use a toothpick or the pointed end of a tweezer to apply a tiny dot of lash adhesive under the lifted section of the lash band. Wait 20 seconds for the glue to become tacky, then press the corner firmly into place against the lash line and hold for 10 seconds.
When You’ve Gone Overboard on the Glue
Applying too much adhesive creates a mess that prolongs drying time and complicates placement. The goal is always a paper-thin layer.
If you apply too much glue, do not wipe it off the lash band. Instead, take a clean spoolie or a cotton swab and gently run it along the band to absorb the excess. This leaves a perfect, thin line of glue that will dry to a tacky state much faster, giving you better control.
The Lash Band Feels Stiff or Pokes Your Eye
An uncomfortable lash band typically indicates one of two issues: it was not prepped correctly, or it is too long. A well-fitted lash should feel weightless.
Always flex the band back and forth between your fingers before application to break its initial stiffness. This helps it conform to the natural curve of the eyelid. If it still causes poking, the band is too long. Trim a small amount from the outer corner and re-test the fit.
Actionable Insight for Business Owners: This level of detail defines a premium client experience. The false eyelash market is projected to reach USD 2.7 billion by 2033, driven by social media trends and manufacturing innovations. Position your business as an expert resource for troubleshooting to stand out in this competitive industry. Learn more about the expanding false eyelashes market on imarcgroup.com.
Your False Eyelash Questions Answered
Even after mastering the application technique, specific questions often arise. Here, we address the most common concerns to help you perfect your service and client education.
Proper care is just as important as the application itself. High-quality strip lashes are an investment, and with the right maintenance, they can be reused multiple times.
Can I Reuse My False Eyelashes?
Yes, absolutely. Most high-quality strip lashes are designed for multiple uses. With proper care, a single pair can be worn 10-15 times or more. The keys are gentle handling and consistent cleaning.
Actionable Steps for Reuse:
- Gently peel the lash off the eyelid, starting from the outer corner to avoid tugging on natural lashes.
- Use tweezers to carefully remove any residual glue from the lash band.
- Store the lashes in their original case to maintain their curved shape and protect them from dust and damage.
Should I Apply Mascara Before or After False Lashes?
The best practice involves a strategic, two-step approach.
First, apply a light coat of mascara to the natural lashes before applying the false lashes. This provides a better grip for the lash band and helps the natural lashes blend more effectively.
After the lash glue has dried completely, apply one more very light coat of mascara. This final touch melds the natural and false lashes together for a seamless finish. Avoid heavy formulas, as they can damage the false lash and reduce its lifespan.
Key Takeaway for Business Owners: When teaching clients, explain that mascara's role with falsies is blending, not adding volume. A light touch is all that is needed for a professional finish where the natural lashes and falsies are indistinguishable.
Why Do the Corners of My Lashes Always Lift Up?
This is the most common frustration for beginners. If the inner or outer corners lift, it is almost always due to one of these three issues:
- The band is too long: An improperly sized lash band will resist the curve of the eye, causing the ends to lift. Always measure and trim every pair of lashes.
- Not enough glue on the ends: The inner and outer corners require the most secure adhesion. Add an extra dot of adhesive to each end of the lash band before placement.
- The glue wasn't tacky enough: Applying the lash while the glue is still wet prevents a strong bond from forming at the corners. Wait the full 30-45 seconds for the glue to become tacky.
Proper aftercare is essential for all lash enhancements. For more tips, review our guide on how to maintain lash extensions, as many of the principles also apply to caring for strip lashes.
At gohappybeauty, we empower beauty professionals with stunning, SEO-optimized websites designed to attract more clients. Build your dream site today and let your online presence shine as brightly as your skills. https://gohappybeauty.com