Ready to guide clients on removing their shellac manicure at home, or perhaps refresh your own technique? The key isn't brute force, but patience and the right process. Forget peeling and picking—we're going to use the professional-approved acetone soak method. This technique gently dissolves the polish, preserving the integrity of the natural nails underneath.
This is the industry-standard method, and it's the only way to prevent the peeling and thinning that leaves nails weak. Offering these instructions to clients can empower them and build trust in your professional expertise.
Your Guide to Safe Shellac Removal
Before diving in, let’s get the toolkit ready. Having everything laid out first makes the entire process ridiculously smooth and stress-free. For salon owners, providing clients with a small, branded "take-home removal kit" can be a fantastic value-add.
A proper setup is the difference between a successful, satisfying removal and a frustrating, nail-damaging mess. The goal is to mimic a salon-quality process that prioritizes nail health. It’s a standard every licensed nail technician is trained to uphold. If you’re curious about what it takes to go pro, you can learn more about esthetician license requirements by state in our detailed guide.
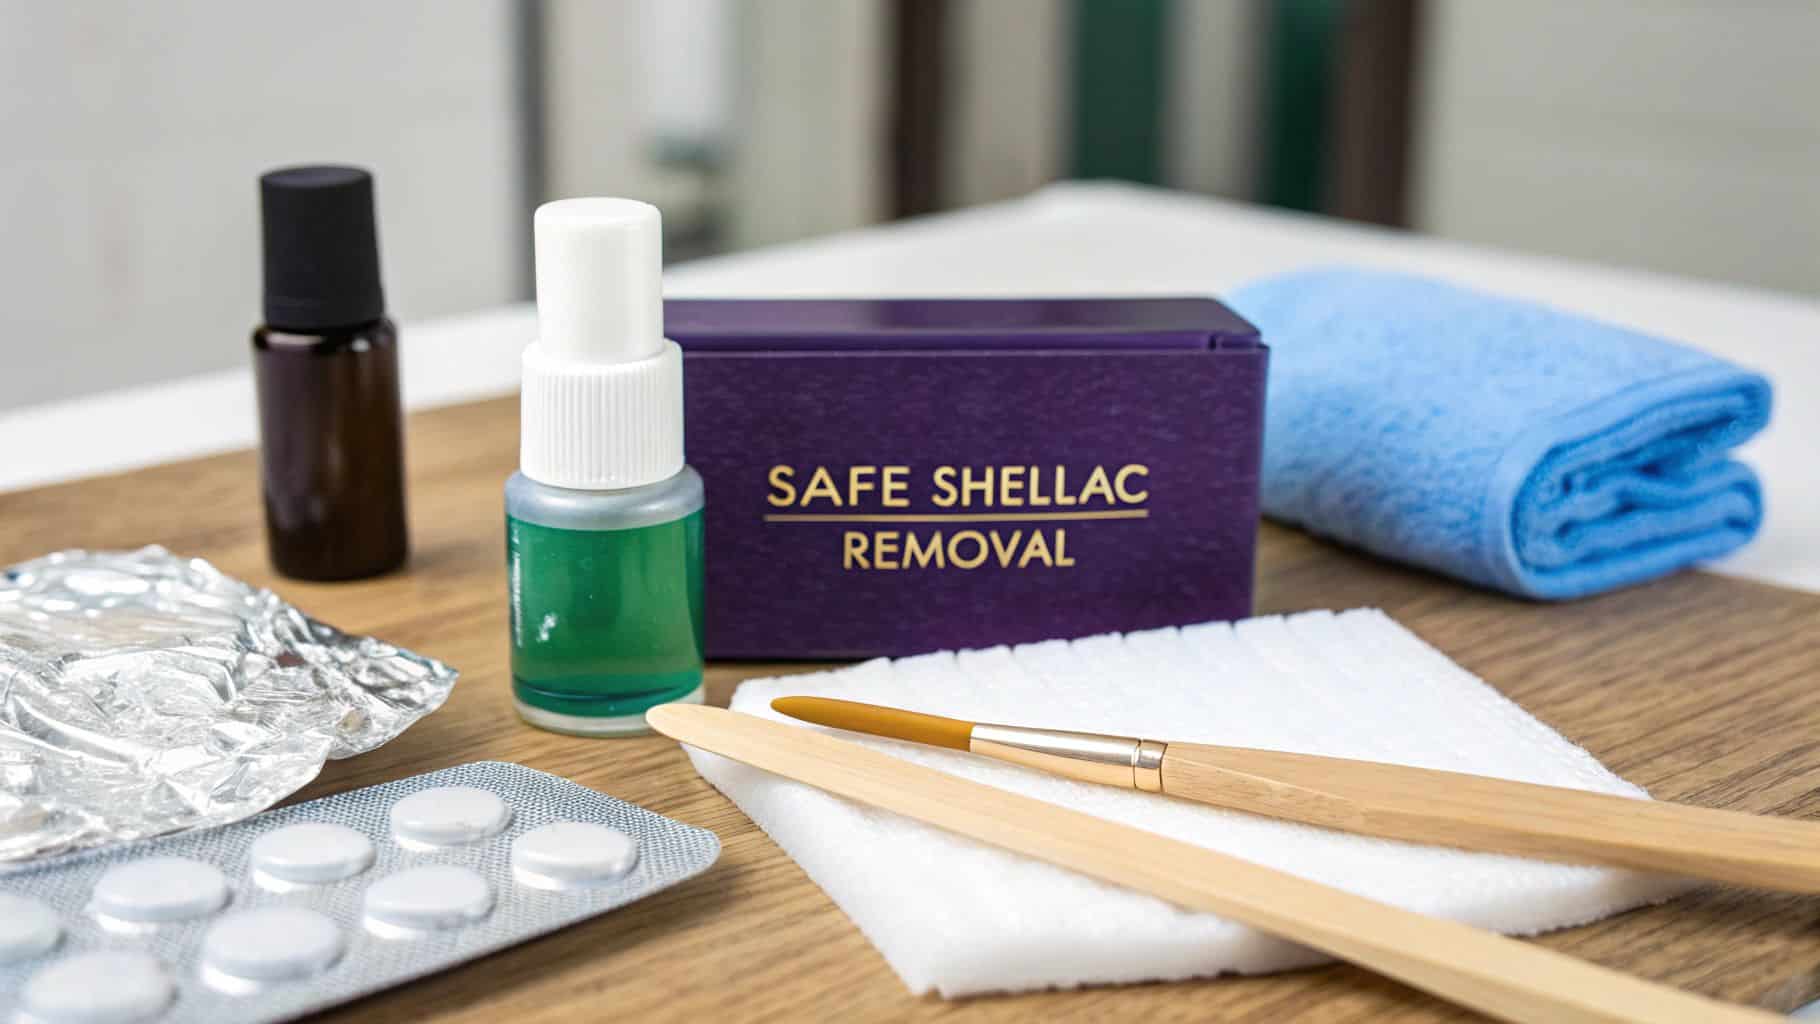
The Professional Shellac Removal Toolkit Checklist
To achieve a salon-perfect removal at home, a few key items are necessary. This checklist covers everything needed to do the job right without damaging the nails.
| Tool | Purpose | Actionable Insight for Business Owners |
|---|---|---|
| 100% Pure Acetone | To effectively dissolve the shellac polish. | Educate clients that regular polish remover won't work. It must be 100% acetone to break down the durable shellac formula. |
| Cotton Balls/Pads | To hold the acetone against the nails. | Advise clients to cut pads to fit their nail size. This minimizes acetone exposure to the surrounding skin. |
| Aluminum Foil | To wrap around fingertips, holding the cotton in place. | Instruct clients to pre-cut 10 squares (about 3×3 inches). This simple prep step streamlines the process. |
| Nail File/Buffer | To gently file the shiny top coat before soaking. | Stress this step! Breaking the top seal is crucial for allowing the acetone to penetrate the color layers much faster. |
| Orange Wood Stick | To gently push off the softened shellac. | Emphasize using a wood stick, never metal tools, which can easily scrape or gouge the natural nail plate. |
| Cuticle Oil | To rehydrate nails and cuticles after using acetone. | This is a great retail opportunity. Offer a high-quality cuticle oil and explain its non-negotiable role in restoring moisture. |
Once all tools are organized, the removal process can begin. A little prep work makes all the difference!
Why the Right Method Matters So Much
It cannot be stressed enough: trying to peel or scrape off shellac is one of the worst things you can do to nails. There’s a reason professionals always soak it off.
Forcefully peeling off shellac can rip away layers of the natural nail plate, reducing its thickness by up to 40%. This leads to weak, brittle nails that are prone to breaking.
The safest method involves soaking cotton pads in 100% acetone, placing them on each nail, and wrapping them snugly in foil. Let them sit for 10-15 minutes to give the acetone time to work its magic and break down the polish without any aggressive scraping.
The secret to maintaining healthy nails between manicures is always choosing a gentle removal process over a fast one. Patience pays off by preventing damage that takes weeks, or even months, to repair.
So, gather the supplies and let's get this done the right way. Your nails will thank you for it.
Prepping Nails for a Flawless Removal
A great at-home shellac removal always starts with a little prep work. Before reaching for the acetone, a couple of quick steps will protect the nails and skin, making the whole process smoother. Skipping these can lead to frustration and seriously irritated skin.
Next up is protecting the skin. Acetone is incredibly drying, so creating a simple barrier can make a huge difference.
Applying a protective barrier isn't just a pro tip; it's essential for a safe removal. This one simple move stops the acetone from stripping all the natural oils from cuticles and the surrounding skin, keeping them healthy and happy.
Buff and Protect: The Two Keys to Success
Slathering a bit of cuticle oil or even petroleum jelly all around the nail creates the perfect shield against the harsh acetone. It’s a simple two-part process: buff the nail, then protect the skin.
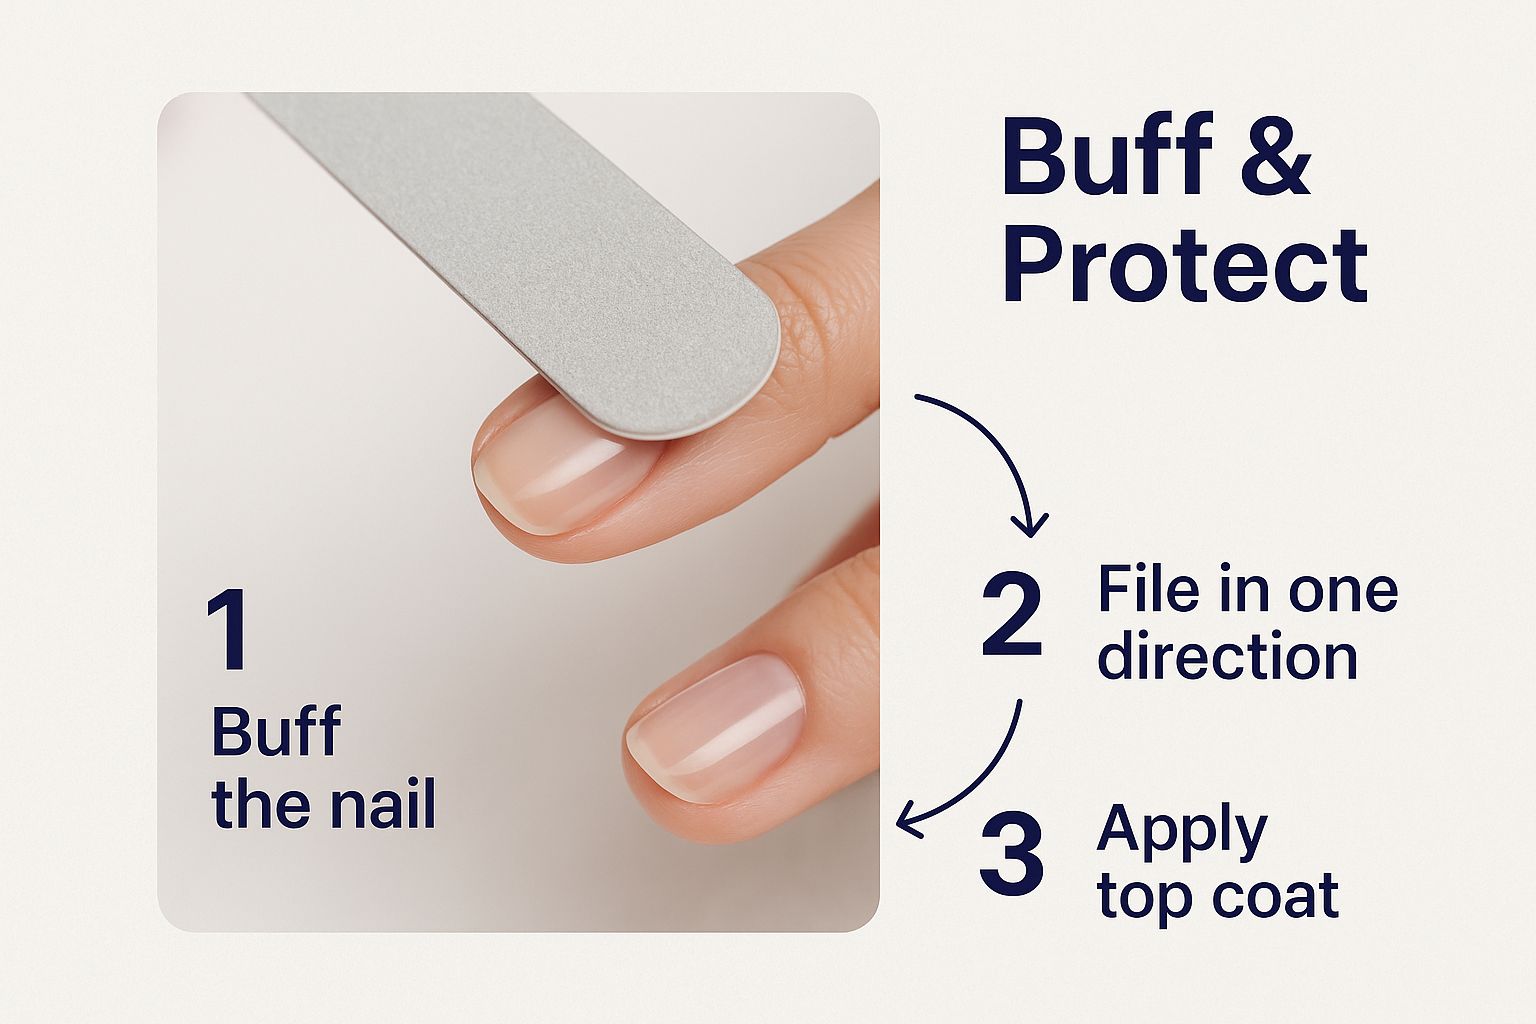
As you can see, taking a moment to file away that shine and then coat the skin ensures the acetone only targets the polish. For anyone asking how to take shellac nails off without collateral damage to their skin, this is it. Spending these two minutes on prep sets the stage for a clean, damage-free finish every single time.
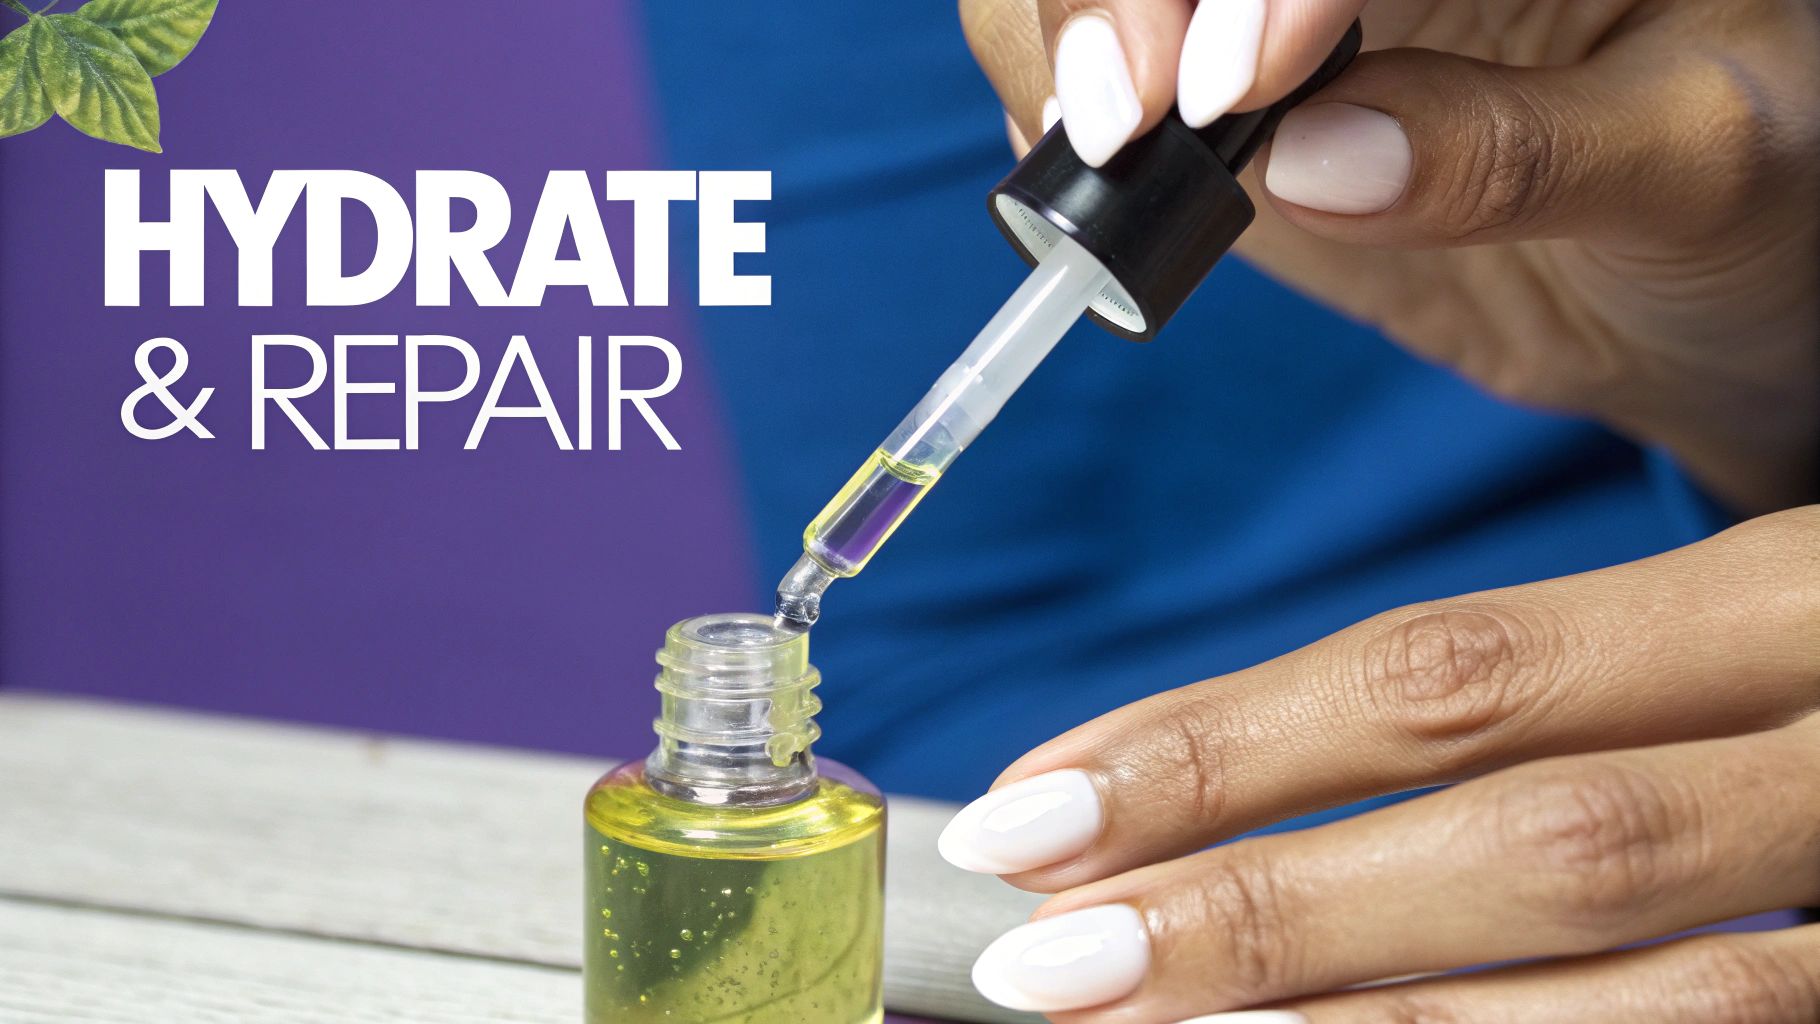
Mastering the Acetone Soak
First, saturate a cotton ball or pad with 100% pure acetone. It should be wet enough to cover the whole nail, but not so soaked that it's dripping everywhere. Getting this right makes the whole process cleaner and more effective.
Next, place the acetone-soaked cotton directly on top of the nail, ensuring it covers the entire shellac surface, right up to the edges.
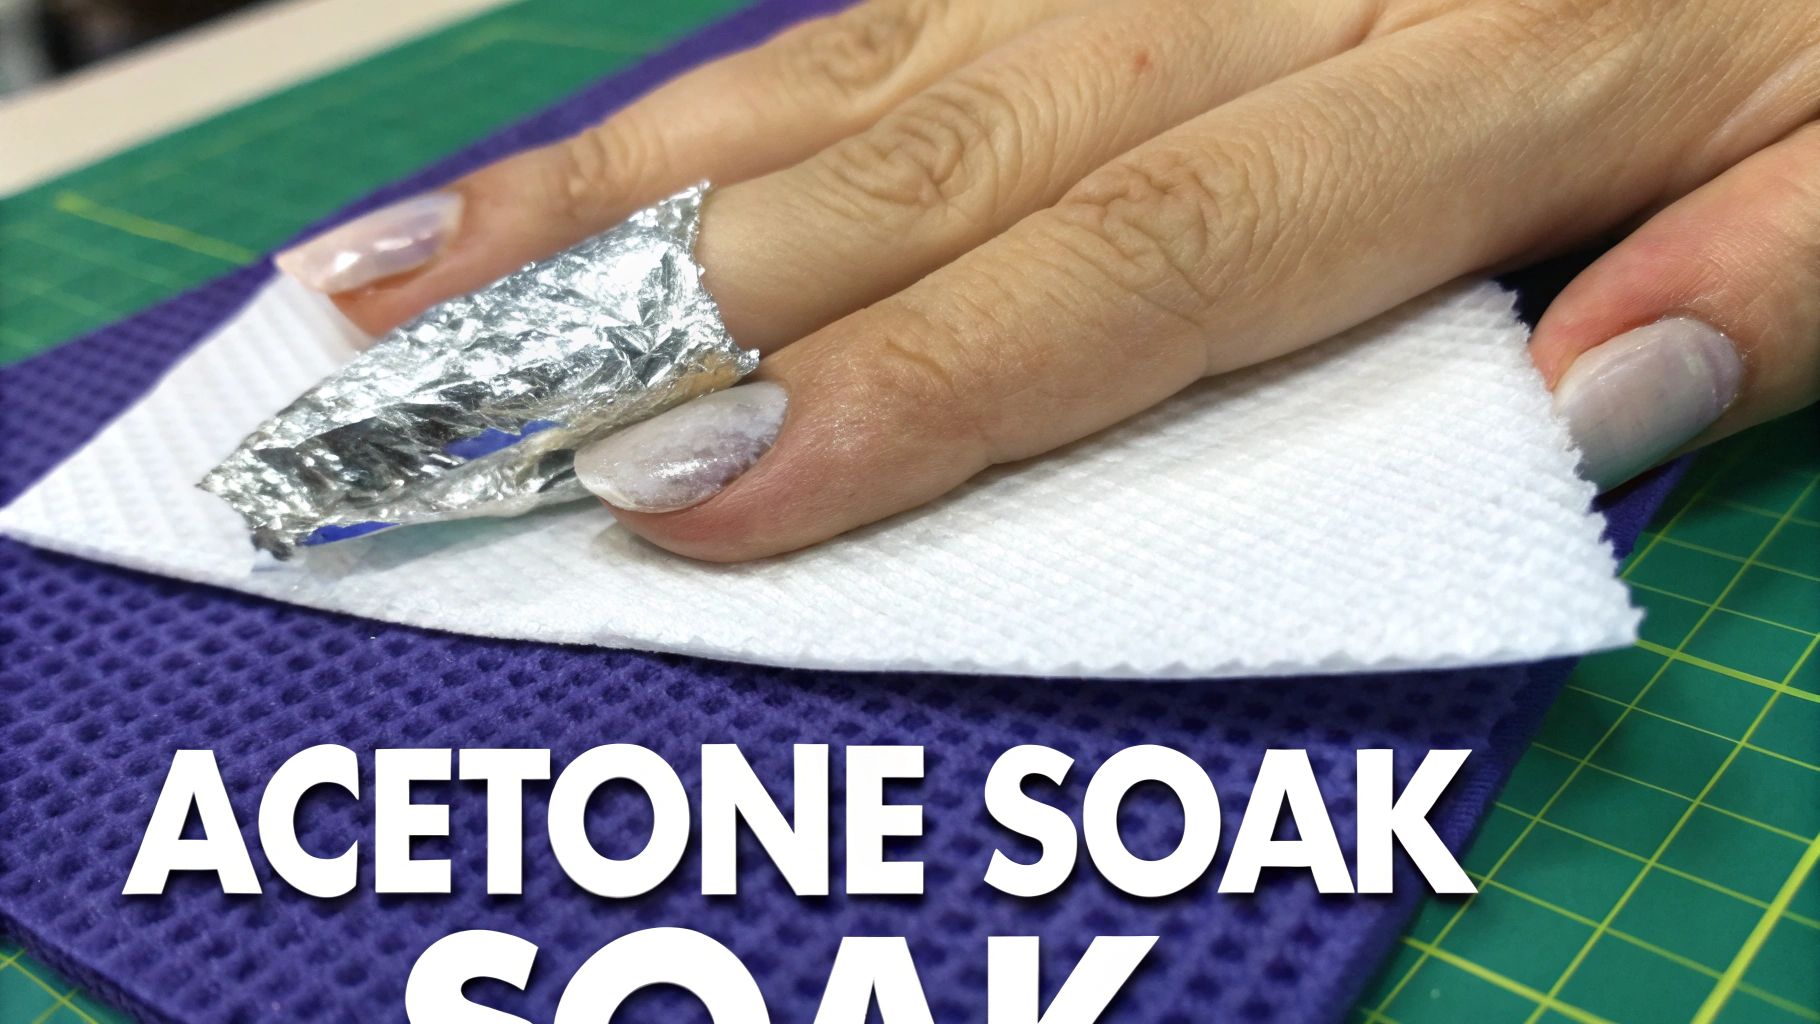
Creating the Perfect Foil Wrap
Once the cotton is in place, it's time to lock it in. Wrap a pre-cut piece of aluminum foil snugly around each fingertip. The foil doesn't just hold the cotton in place; it traps body heat, which gently warms the acetone and helps it break down the polish much faster. It's a classic salon trick for a reason!
Now, set a timer for 10 to 15 minutes and relax. This is the perfect time to catch up on a podcast or simply enjoy a few minutes of quiet. Resist the temptation to peek early—letting air in slows the process down.
Remember, that soaking time isn't just a suggestion; it's the most critical step. Rushing it will only tempt you to start scraping, which is exactly what we're trying to avoid to keep nails healthy.
You’ll know it’s working when the first nail is unwrapped. The shellac should look like it’s crinkling, bubbling up, and lifting away from the nail bed. It should be soft and practically ready to slide off. If it doesn’t look quite like that, don’t panic—it just needs more time. Simply re-wrap it and give it another five minutes. Never force it off. Let the acetone do its thing, and the natural nails underneath will be preserved.
Gently Lifting Away the Softened Polish
Once the timer goes off, it's time for the most delicate part of the process. This is the moment that makes or breaks the health of the nails, so it must be done right. The biggest mistake is unwrapping all fingers at once. The softened polish will begin to reharden upon contact with air.
Instead, work on one finger at a time. Gently unwrap the foil from the first nail and inspect it. The shellac should appear crinkled, soft, and possibly lifting at the edges on its own. This is the green light.
Using a wooden orange stick or a gentle, rubber-tipped cuticle pusher, carefully nudge the polish off the nail. Always work in the direction of nail growth—from the cuticle down to the tip. The shellac should slide away with minimal pressure.
What to Do if the Polish Won't Budge
If any real force is needed or resistance is felt, stop immediately. Pushing and scraping stubborn polish is how nails become thin, peeling, and damaged. A spot that won’t lift easily simply needs more soaking time.
Never, ever force, scrape, or peel off shellac that isn't ready. When you do that, you're not just taking off the polish; you're peeling away layers of your natural nail plate right along with it. The goal is to let the acetone dissolve the bond, not to pry the polish off with brute force.
Don't let a stubborn patch cause frustration. Re-saturate the cotton ball with acetone, place it back on the nail, and wrap it up tightly in foil. Give it another five to ten minutes to work.
Once that extra time is up, unwrap it and try again. That spot that was holding on for dear life should now slide off just as easily as the rest. Repeat this gentle process for each nail, giving every single one the time it needs for a perfect, damage-free removal.
Post-Removal Care for Healthy Resilient Nails
With the shellac officially off, the job isn't quite done. This final phase is the cool-down—it’s absolutely essential for helping nails recover and stay strong, especially since acetone can leave both nails and the surrounding skin incredibly dry.
The number one priority now is hydration. First, gently buff the nail surface to smooth away any remaining residue. After that, wash hands with a mild soap and water to remove every last trace of acetone.
Restoring Moisture and Strength
Once hands are patted dry, it’s time to replenish what the acetone took away. This step is what stands between healthy nails and brittle, peeling ones.
- Nourish Your Cuticles: Grab a quality cuticle oil and apply it to the skin around the nails. Take a moment to really massage it in; this helps boost circulation and lets the oil sink in deeper.
- Hydrate and Protect: Follow up with a rich hand cream or a dedicated nail strengthener. Cover the entire nail plate to lock in moisture.
This quick routine restores much-needed nutrients and creates a protective shield, keeping nails healthy and resilient. Salon owners can package this aftercare step as a "Nail Recovery Treatment" add-on service.
It's clear that DIY nail care is more popular than ever. The global market for gel nail polish remover was valued at about $892 million in 2024 and is expected to climb to $1.34 billion by 2033. This boom just goes to show how vital it is to learn proper post-removal techniques to avoid accidental damage. Discover more insights about this trend on archivemarketresearch.com.
Taking care of nails goes way beyond just the polish. It’s also about understanding their health and structure, which is why a comprehensive guide to nail shapes can also be super helpful. This final aftercare step is what separates simply removing shellac from truly caring for nails.
Got Questions About Shellac Removal? Let's Talk.
Even when you follow the steps perfectly, taking off shellac at home can bring up a few questions. Let's walk through some of the most common ones so you can finish the job with confidence.
What if some spots just won't budge?
First, don't pick or force it. Ever. Stubborn shellac isn't a sign of failure—it just means that particular spot needs a little more time to dissolve.
Simply re-saturate a small piece of cotton with acetone, place it right back on that tough spot, and re-wrap it snugly with foil. Give it another five to ten minutes. Patience is your best friend here and the key to preventing nail damage.
Can I Just Use a Non-Acetone Remover?
It's tempting to reach for what seems like a gentler option, but non-acetone removers just don't have the power for shellac. Shellac is a tough hybrid of traditional polish and gel, and it requires the powerful solvent properties of 100% pure acetone to break down effectively.
Using a weaker remover will only lead to a frustrating experience and aggressive scraping—exactly what this guide helps you avoid.
The market for these products is huge; the shellac polish remover segment alone is worth about $250 million in 2024. This is just one piece of the larger nail care industry, where professional salons make up around 64% of product consumption. This really drives home the need for products that work safely and effectively. You can discover more insights about the nail care market on fortunebusinessinsights.com.
Bottom line: using the right tool is non-negotiable. For shellac removal, that tool is pure acetone.
How long should I wait before my next manicure?
It’s always a good idea to give nails a little breather. After an acetone soak, nails will be dehydrated and need a chance to recover.
Wait at least a few hours, but a full day is even better. This gives them time to rehydrate, especially after treating them to cuticle oil and moisturizer. For more tips on making manis last, check out our guide on how long does shellac last.
Ready to elevate your beauty business online? gohappybeauty creates stunning, SEO-optimized websites designed specifically for salon owners like you. Get discovered and attract more clients at https://gohappybeauty.com.