Creating a website icon is a small task with a big impact. Your goal is to design a simple, memorable image that represents your brand, save it in the right format (like PNG or SVG), and upload it to your website. Think of it as your website's tiny digital signature.
For most business owners, the most effective icon is a simplified version of their logo—perhaps a single initial or a core symbol. The key is that it must be clear and recognizable even when shrunk down to the size of a browser tab.
Your Icon Is Your Website's First Handshake
Before diving into the "how-to," let's quickly cover the "why." Your website icon, often called a favicon, is that small image you see in browser tabs, bookmark lists, and search history. It acts as a visual shortcut, helping customers instantly recognize your site.
For a business owner, this isn't just a minor design detail; it's a key part of building a professional online presence. A clear, well-designed icon adds legitimacy and helps clients spot your site easily, especially if they have multiple tabs open.
Why a Small Icon Makes a Big Impact
A strong icon improves the user experience. It helps returning visitors find you faster, building familiarity and trust. The process is simple: a user sees your icon, recognizes your brand, and feels more confident engaging with your site.
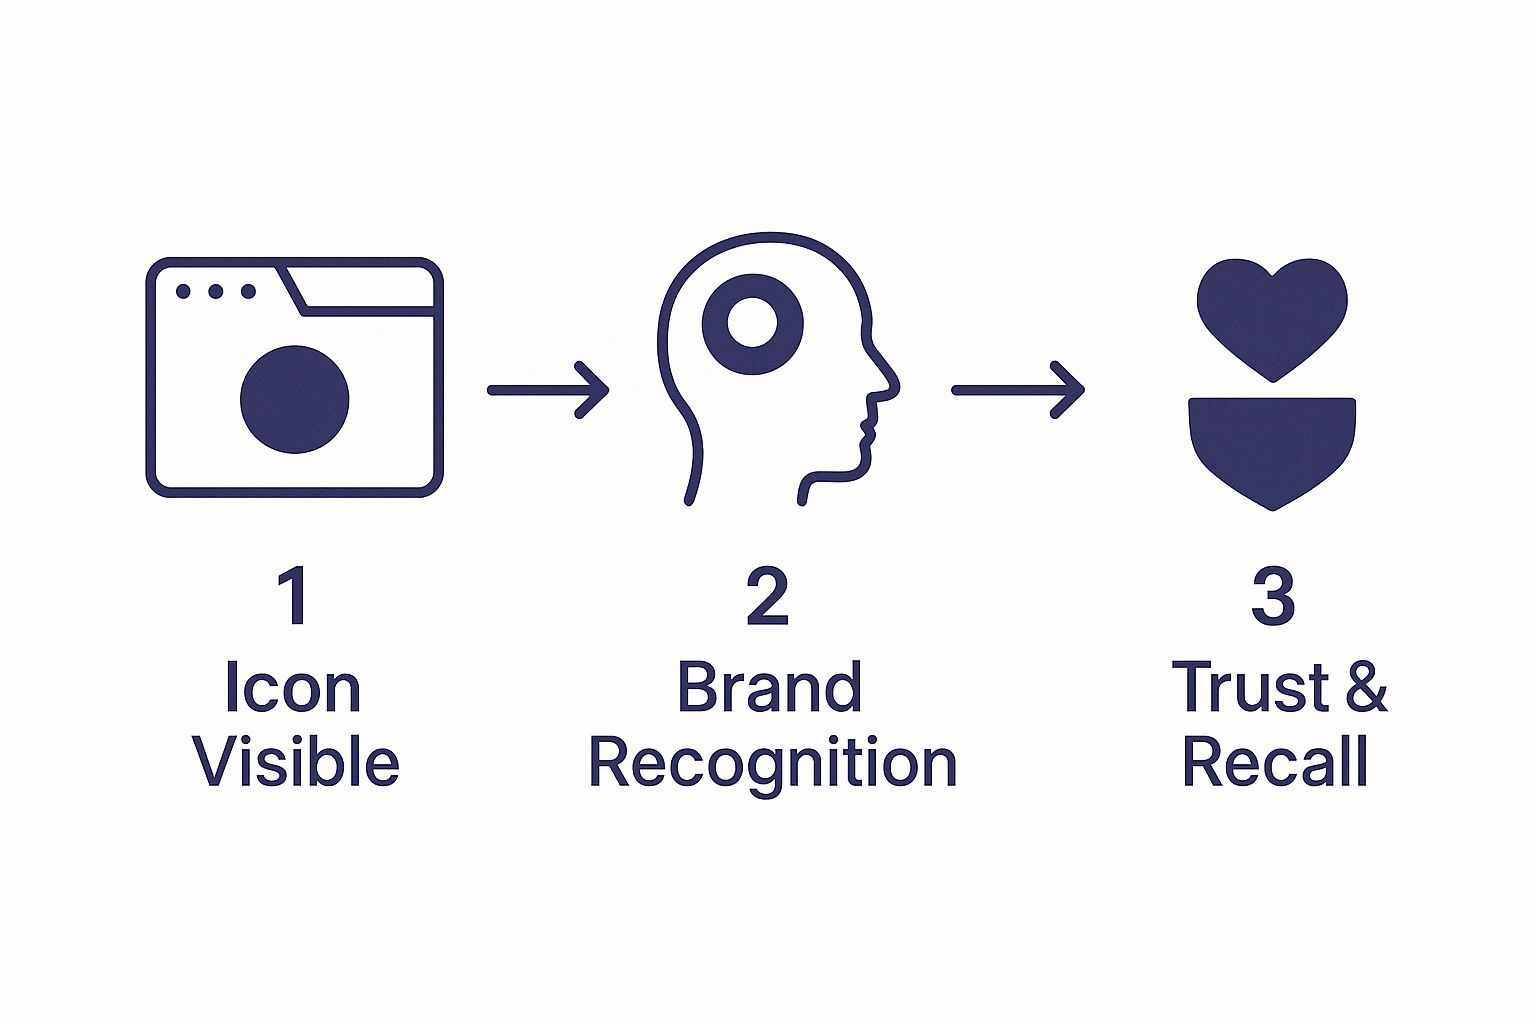
This visual journey shows how a simple graphic can guide a user back to you, reinforcing your brand with every glance.
Icons used to be just tiny 16×16 pixel images. Today, they need to look sharp on everything from a small browser tab to a high-resolution smartphone screen. This matters because customer expectations are high. Research shows that about 88% of online consumers are less likely to return to a site after a bad experience. Small details, like a professional icon, contribute to a positive overall impression.
A great icon makes your website look complete and trustworthy. It’s a small signal to users that you care about every detail of their experience, which is foundational to creating a professional website that attracts clients.
Finding the Right Icon Creation Tool for You
You don't need to be a professional graphic designer to create an excellent icon. The key is to choose a tool that fits your skill level and budget. Let's walk through the options to find the best fit for your business.

Many business owners start with free online icon generators. These tools are incredibly easy to use: you pick a template, add your brand's initials or a simple graphic, select your colors, and download the finished files. They are a fantastic way to get a professional-looking icon in minutes without any design experience.
Comparing Your Main Options
So, how do you create an icon for a website that truly reflects your brand? It comes down to a few common approaches, each with its own advantages.
- Online Icon Generators: The best choice for beginners or anyone needing a fast, simple solution. They handle all the technical requirements like sizing and file formats automatically.
- Professional Design Software: This includes programs like Adobe Illustrator or Affinity Designer. These tools offer complete creative control and are ideal if you or someone on your team has design skills and wants a fully custom icon.
- AI-Powered Tools: A new and exciting option. AI tools can generate unique design concepts from a simple text prompt (e.g., "a simple icon of a coffee bean for a cafe"). They are great for brainstorming ideas you might not have considered.
For those interested in exploring further, the latest AI for image generation tools are becoming increasingly user-friendly and can produce impressive results with minimal effort.
Your choice of tool will shape the final outcome. A free generator is fast and efficient, while professional software allows you to create a truly unique icon that captures your brand's personality.
To help you decide, here is a simple comparison.
Website Icon Tool Comparison
| Tool Type | Best For | Pros | Cons |
|---|---|---|---|
| Online Generators | Beginners & quick results | Very easy to use, fast, often free | Limited customization, may look generic |
| Pro Design Software | Designers & unique brands | Total creative control, high-quality results | Requires design skills, can be costly |
| AI Tools | Brainstorming & new ideas | Generates unique concepts quickly | Results can be unpredictable, may need refinement |
The Rise of Dynamic and AI-Driven Icons
Icon design is evolving. Trends like AI and augmented reality are leading to more dynamic and personalized icons.
This connects to the broader trend of using micro-animations on websites. Some studies suggest these small animations can improve user retention by around 30% by making the experience more engaging. While an animated icon might not be necessary for your business right now, being aware of these trends helps you make design choices that will stay relevant.
Design Principles for an Unforgettable Icon
A great icon is more than a tiny image; it’s your brand's essence distilled into a single visual. When learning how to create an icon for a website, the goal is clear communication. It needs to tell your story in the split second a user glances at their browser tab.

The most important rule is simplicity. Your icon will often be displayed at a tiny 16×16 pixels. At that size, intricate details, textures, or fine lines will blur together and become unrecognizable.
For your business, this could mean using a simplified version of your logo's main symbol or a single, stylized initial from your brand name. The goal is a design that is clean and immediately understood.
Make Your Icon Scalable and Consistent
Your icon must look crisp and clear everywhere—from a tiny browser tab to a high-resolution smartphone screen. This is where scalability is essential.
Using a vector format like SVG (Scalable Vector Graphic) is highly recommended. Unlike pixel-based formats (like PNG or JPG), vectors are made with mathematical equations, allowing them to scale to any size without losing quality. This ensures your icon always looks sharp and professional.
Consistency is also vital for reinforcing your brand identity. Your icon should feel like it belongs to your brand. Here’s how to ensure that:
- Color Palette: Use the same primary colors found in your logo and on your website. This creates an immediate visual connection for your visitors.
- Brand Voice: Does your brand feel modern and sleek, or is it more traditional and warm? The style of your icon—from sharp, geometric shapes to soft, rounded lines—should reflect this personality.
Think of your icon as a visual promise. It should align perfectly with your overall online presence, reinforcing the brand experience you’ve worked so hard to build. Getting this right is a cornerstone of solid website design best practices.
Color, Contrast, and Accessibility
Color does more than make your icon look nice; it grabs attention and conveys emotion. Bold, high-contrast colors will help your icon stand out in a crowded bookmark bar.
From an Idea to a Polished Icon Design
This is where you bring your vision to life. Creating an icon is about translating your brand's identity into a simple, memorable visual. The process is more straightforward than you might think.
Let's walk through it with an example. Imagine a local coffee shop, "The Daily Grind," needs an icon. Their brand is warm, rustic, and community-focused. The first step is to brainstorm visual ideas.
Here's what their list might include:
- Core Concepts: Coffee bean, steaming mug, the letter 'G', a heart inside a mug.
- Brand Feel: Earthy colors, simple lines, friendly and inviting.
This list provides a solid starting point for exploring visual concepts that feel authentic to their brand.
From Rough Sketch to Digital Draft
The next step is sketching. This doesn't require artistic talent; it's simply about getting ideas down on paper or a digital canvas to see what works.
For The Daily Grind, this could mean drawing a few different versions of a coffee bean or experimenting with styles for the letter 'G'. The goal is to explore options quickly without worrying about perfection.
A simple sketch is the fastest way to test an idea. You’ll know in seconds if a concept is too busy or if it has the potential to become a strong, recognizable symbol for your brand.
After a few sketches, one idea usually stands out. For our coffee shop, a simple, stylized coffee bean is the clear winner. It’s unique, relevant, and simple enough to work at a small size.
Now, it's time to create a digital version. Whether you use a free icon generator or professional software like Figma, the next step is to create a clean, digital draft of the coffee bean sketch, focusing on bold lines and a balanced shape.
Refining and Polishing Your Design
The final stage is refinement. The Daily Grind has its digital coffee bean; now it's time to add color and polish the details.
They decide to use the deep brown from their logo. To make it feel more friendly and less corporate, they slightly round the edges of the bean.
Before finalizing, they perform a crucial test: shrinking the design down to 16×16 pixels. Is it still clearly a coffee bean? Yes. This means the design is effective.
This process of sketching, digitizing, and refining is how you transform a simple idea into a polished, professional icon that perfectly represents your brand and makes your website look complete.
Getting Your New Icon Live on Your Website
You've designed the perfect icon—now it's time to add it to your site. This final step is easier than you might think. Here’s a simple guide to the right formats, sizes, and upload instructions for popular platforms.
The three main file types for icons are ICO, PNG, and SVG. While modern browsers handle SVG files beautifully, it's a good practice to have ICO and PNG versions as well. This ensures your icon appears correctly on all devices and browsers, including older ones.
Your goal is to have a small set of icon files that covers all possibilities, from a browser tab to a saved shortcut on a smartphone. This creates a consistent and professional look for all visitors.
Choosing the Right Sizes and Formats
Different devices and browsers require different icon sizes. To ensure your icon looks sharp everywhere, you should have a few key versions ready. You can use a free online favicon generator to create all the necessary sizes from a single image.
Here are the most important sizes to have:
- 16×16 pixels: The standard size for browser tabs and bookmarks.
- 32×32 pixels: Used for taskbar shortcuts and other interface elements.
- 180×180 pixels: The size for Apple touch icons (when a user saves your site to their iPhone or iPad home screen).
Uploading Your Icon to Popular Platforms
Now for the final step: adding the icon to your website. Most modern website builders make this process simple and don't require any coding.
Here are the step-by-step instructions for the most common platforms:
For WordPress:
- Log in to your dashboard and go to Appearance > Customize.
- Click on the Site Identity tab.
- Look for the "Site Icon" section and upload your icon image.
For Shopify:
- From your Shopify admin, go to Online Store > Themes.
- Find your current theme and click Customize.
- Go to Theme settings > Favicon and upload your file.
For Squarespace:
- In your site editor, navigate to Design > Browser Icon (some templates may label this "Favicon").
After uploading, publish your changes. Your new icon should appear in the browser tab almost immediately, giving your website a polished and complete look.
Common Questions About Website Icons
Getting the final details of your website right can feel overwhelming. Let's answer a few common questions business owners have about creating an icon.
What's the Difference Between a Logo and an Icon, Anyway?
Think of your logo as your brand's full signature, which often includes your business name. Your icon (or favicon) is like your initials—a compact, simplified symbol that’s instantly recognizable in small spaces where your full logo wouldn't fit.
For example, a full logo with text would be unreadable in a browser tab. That’s why using a distinct symbol from your logo is much more effective for an icon.
What's the Best File Format for a Website Icon?
For maximum compatibility, it's best to use a combination of formats. The traditional choice is an ICO file, a universal format that ensures your icon appears on all browsers, including older ones.
However, the modern standard is SVG (Scalable Vector Graphic). SVGs are ideal because they remain perfectly sharp at any size and have very small file sizes. It's also wise to have a PNG version for specific applications, such as Apple touch icons.
The secret to a flawless icon is having it ready in multiple formats. A little prep work here guarantees a crisp, professional look on every single device and browser a potential client might be using.
Can I Just Shrink My Full Logo and Use That?
In most cases, this is not a good idea. Logos, especially those containing text, become an unreadable blur when shrunk to 16×16 pixels.
The most effective icons isolate a single, distinct element from a logo—such as a unique symbol or a stylized first letter. Before you decide on a design, always test it by shrinking it down. If you can still tell what it is, you have a winning design.
Ready to build a stunning website that reflects your brand from the logo all the way down to the icon? gohappybeauty provides easy-to-use tools designed specifically for beauty professionals. Start building your dream site today!